by Michael Cropper | Apr 27, 2021 | Client Friendly, Developer, Technical |
We’ve got a lot of complex topics to cover here, so for the sake of simplicity we’re only going to touch on the really high level basics of these concepts to help you understand how all these different pieces of the puzzle are connected together. When you’re first getting started in the world of IT, it’s often a bit of a puzzle how all these things are plugged together under the hood which can cause a lot of confusion. By knowing how things are plugged together, i.e. how the internet works, you will have a significantly better chance of working with existing setups, debugging problems fast, and most importantly building new solutions to bring your creative ideas to life.
Firstly, let’s get some basic terminology understood;
- Registrar = This is where you purchased your domain name from, i.e. example.com
- Nameservers = This is the where the authority starts for your domain, i.e. it’s the equivalent of “tell me who I need to talk to who can point me in the right direction to get to where I want to go”. It’s the authority on the subject whose opinion on the matter is #1.
- DNS = This is the gate keeper to determine how traffic into your domain flows to where it needs to go. Think of your DNS like Heimdall from the Thor movies. You configure your nameservers to act in a way that you want, i.e. requests from www.example.com, should ultimately route to server IP address, 1.2.3.4, so that you don’t need to go remembering a bunch of IP addresses like a robot – or in the Heimdall world, “Heimdall…” as Thor screams in the movies, and he is magically transported from Earth to his home world of Asgard. Likewise, if Loki wants to visit a different planet, he just asks Heimdall to send him there and the magic happens. DNS can appear like magic at times, but it’s actually really simple once you understand it. DNS is a hard concept to explain simply, we’ll do another blog post on this topic in more detail another time. Hopefully this basic comparison helps you to at least grasp the topic at a high level.
- Servers = This is where things get fairly messy. This could be a physical piece of hardware that you can touch and feel, or could be a virtualised system, or visualised system within a virtualised system. There are multiple layers of virtualisation when you get down to this level. Although it’s not that important for the purpose of this blog post. Ultimately, all we care about is that the traffic from www.example.com, or something-else.example.com, gets to where it needs to when someone requests this in their web browser.
As mentioned, this is a difficult concept to explain simply in a blog post as there are so many different considerations that need to be made. But hey, let’s give it a go, with a basic diagram. There are elements of this diagram that have been simplified to help you understand how the different bits fit together.
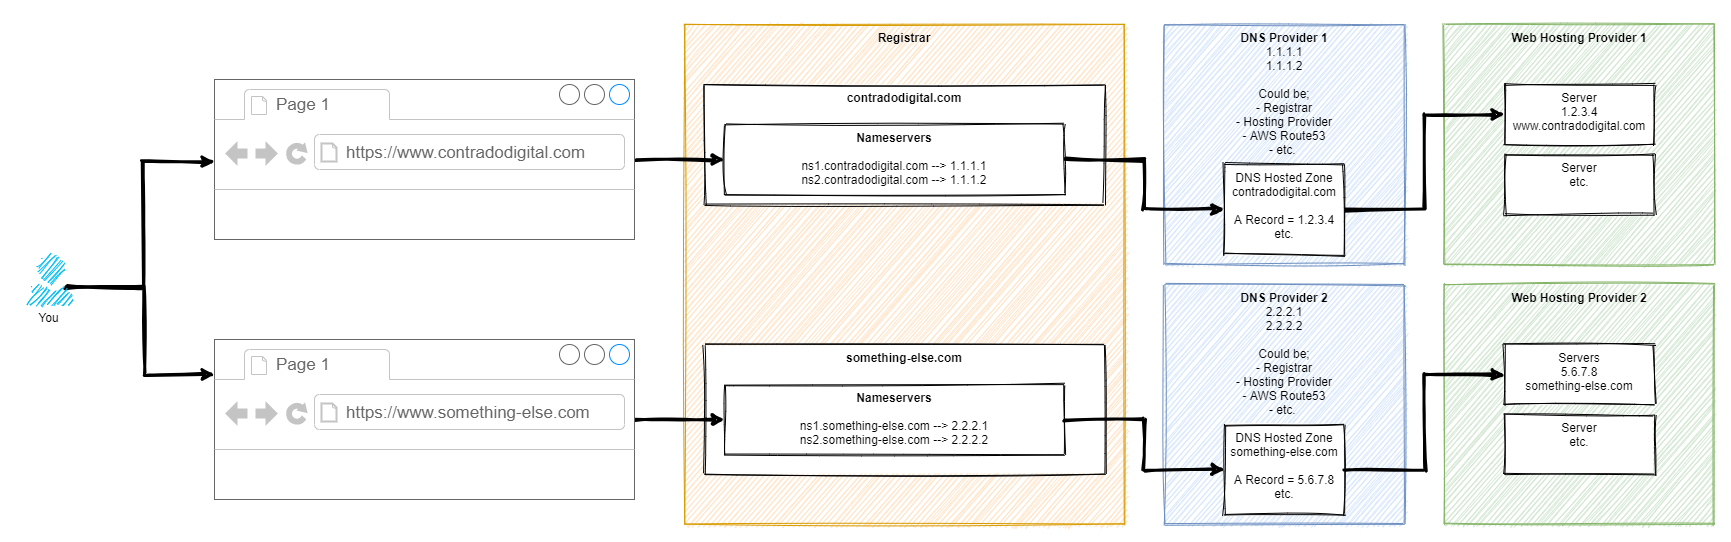
So here’s how it works step by step. For those of you who are more technical than this blog post is aimed at, yes there are a few steps in between things that have been cut out for simplicity.
Step 1 – Type Website Address into Web Browser
This step is fairly basic so we’ll skip over this one.
Step 2 – Web Browser Asks for Authoritative Nameserver for Website
This part is very complex in the background, so we’re not going to delve into these details. For the purpose of simplicity, ultimately your web browser says “Give me the name servers for contradodigital.com”, and ‘the internet’ responds with, “Hey, sure, this is what you’re looking for – ns1.contradodigital.com and ns2.contradodigital.com”.
As with all hostnames, they ultimately have an IP address behind them, so this is what then forwards the request onto the next step.
Step 3 – DNS Provider with Hosted Zones
A Hosted Zone is simple something such as contradodigital.com, or something-else.com. Within a Hosted Zone, you have different types of DNS Records such as A, AAAA, CNAME, MX, TXT, etc. (that last one isn’t an actual record, just to confirm 🙂 ). Each of these record types do different things and are required for different reasons. We’re not going to be covering this today, so for simplicity, the A Record is designed to forward the request to an IP Address.
So your DNS Provider translates your request for www.contradodigital.com into an IP address where you are then forwarded.
Step 4 – Web Hosting Provider Serves Content
Finally, once your web browser has got to where it needs to get to, it starts to download all the content you’ve asked for from the server on your web hosting provider to your web browser so you can visualise things.
This part of the diagram is so overly simplified, but it is fine for what we are discussing. The reality of this section is that this could quite easily be 10-20 layers deep of ‘things’ when you start to get into the low level detail. But that’s for another time.
If you want to get a feel for how complex just part of this area can be, we did a blog post recently explaining how Your Container Bone is Connected to Your Type 2 Hypervisor Bone.
Summary
Hopefully this blog post has given you a good understanding of how your Registrar, Nameservers, DNS and Servers are connected together under the hood. When you truly understand this simple approach, play around with a system that isn’t going to break any live environment, so you can start to test different types of configurations along the way to see how they behave. If you don’t know what you are doing, do not play around with these things on a Live system as you can do some real damage if you get things wrong which can result in your services being offline for a significant period of time.
by Michael Cropper | Apr 26, 2021 | Client Friendly, Developer |
This is quite a common requirement as you start to scale and/or change your infrastructure – how to check the available disk space on a virtual machine using Linux and/or an AWS EC2 instance. It’s one of these things that you would think in this day and age is easy to view, yet on the vast majority of systems this metric seems awkward to get your hands on with a simple click. You want something as simple as how you can see on Micro$oft Windows the percentage% of disk space you have used and what you have got left. This is all a really basic requirement that you’d think would be simple to get your hands on this information on Linux and AWS EC2, but hey, Linux is Linux and AWS EC2 is AWS EC2…..
So, let’s get into the detail.
Thankfully this is actually a really easy piece of information to get your hands onto. For the quick answer, just run the following command when you’ve SSH’d into your Linux instance;
df -hT
What you will find when you run the above command on Linux to view the available hard disk space and current usage is something along the lines of the below image;
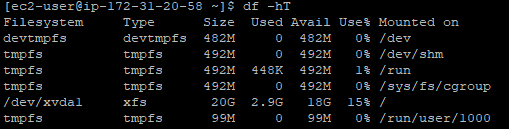
What you can see here is that the disk is currently only being used at 15% capacity. Awesome. You’ve got space to play with.
To help your understanding with some of the cryptic Linux commands;
- df = Disk Free command
- -h = Human Readable, print sizes in human readable format (e.g., 1k, 234M, 2G)
- -T = Print Type, print file system type
There are many other handy commands to the Disk Free utility on Linux, but for the purpose of this blog post these are the main ones you need to be concerned with. Ultimately you can keep track of the disk usage on your Linux machines so you know when it’s time to upgrade your hard disk to increase capacity.
Hopefully it’s obvious why you should care about this stuff… if your hard disk is full on your web server, then this can result in catastrophic results where your ecommerce customers can’t even place orders on your website, or where your B2B customers can’t even complete the contact form on your website. These are just some of the surface level issues that can come up. In essence, when your disk gets full – you’re screwed. It causes an unbelievable amount of problems under the hood that take a significant amount of time to resolve. Don’t underestimate keeping track of this core metric.
by Michael Cropper | Apr 1, 2021 | Client Friendly, Developer |
This is one of those things you come across once every year or two and you can never remember exactly how to do it. The issue is when your Java WAR File that is compiled and packaged during your build process keeps growing in size over time as you are adding extra features and functionality to your Java web application. It’s a good problem to come across as it means that you are building things your customers love. We’ll not go into the discussion of large applications VS micro services, we’ll leave that for another blog post at some point.
We’re looking at Apache Tomcat 7 here since this is the default out of the box version of Tomcat that comes packaged with Amazon Linux 2 which many people will be using. We’re going to assume that you’ve got that all set up the way you need it, so again, we’ll not be covering that off today.
The issue you’ve likely faced when you have come to upload your WAR file is that it simply doesn’t upload and you may have noticed that uploading your WAR file gets to a certain percentage complete then just seems to stop uploading. Thankfully this is quite an easy fix to do, once you know what you’re looking for and how to find the file you need to edit.
By default on Amazon Linux 2, Apache Tomcat 7 creates a shared location where the configuration files for the Tomcat Manager live, this is within;
/usr/share/tomcat/webapps/manager/
So all you need to go and do is edit the web.xml file in the following location by running the command;
sudo nano /usr/share/tomcat/webapps/manager/WEB-INF/web.xml
And you’ll see a section of code in there that allows you to change the MaxFileSize configuration settings. If you’re more familiar with PHP, this is similar to the upload_max_filesize and post_max_size PHP directives in your php.ini configuration file.
    <multipart-config>
        <!-- 50MB max -->
        <!--<max-file-size>52428800</max-file-size>-->
        <!--<max-request-size>52428800</max-request-size>-->
        <!-- 100MB max -->
        <max-file-size>104857600</max-file-size>
        <max-request-size>104857600</max-request-size>
        <file-size-threshold>0</file-size-threshold>
    </multipart-config>
Simply change those details to whatever file size you need. The default for Apache Tomcat is a 50MB file size. So just configure that to whatever you need. As touched upon earlier, always consider when you’re doing this is you need to start thinking about breaking up the application into smaller components that work together in a micro services approach. But this comes with more challenges that you need to be considering at that point too.
Once you’ve got this configured, simply restart Apache Tomcat 7 and you’re good to go.
sudo service tomcat restart
You should now be able to upload your larger WAR file via the Tomcat Manager interface.
by Michael Cropper | Mar 18, 2021 | Client Friendly, IT, Networking |
Ok, so you’ve got yourself a nice new Ubiquiti UniFi AP-AC-Lite Wireless Access Point to modernise your network – Awesome. If you are still in the research stage, then take a look through a recent blog post about Unboxing and Testing the Ubiquiti UniFi Access Point AP-AC-Lite so at least you can see what you get in the box and some of the awesome reporting statistics that you can see once you have the device up and running. We’re not going to be covering the topics that are covered in that blog post, we’re going to assume you’ve got it out of the box and have plugged it in then we can look at how to actually get it set up on your network – since plugging the device in itself isn’t enough with UniFi equipment.
First Plugin of UniFi AP-AC-Lite Wireless Access Point
Ok, so now you’ve plugged your device into your network, it’s time to bring the device onto your network. What I mean by that is that just because you’ve plugged the device in, unlike many other IT network hardware equipment where you plug it in and it’s automatically available for use without configuration (albeit, without configuration certain manufacturers and devices would cease to work anyhow…), with the UniFi equipment you need to officially welcome it onto your network as a trusted device. This process is called the Adoption process.
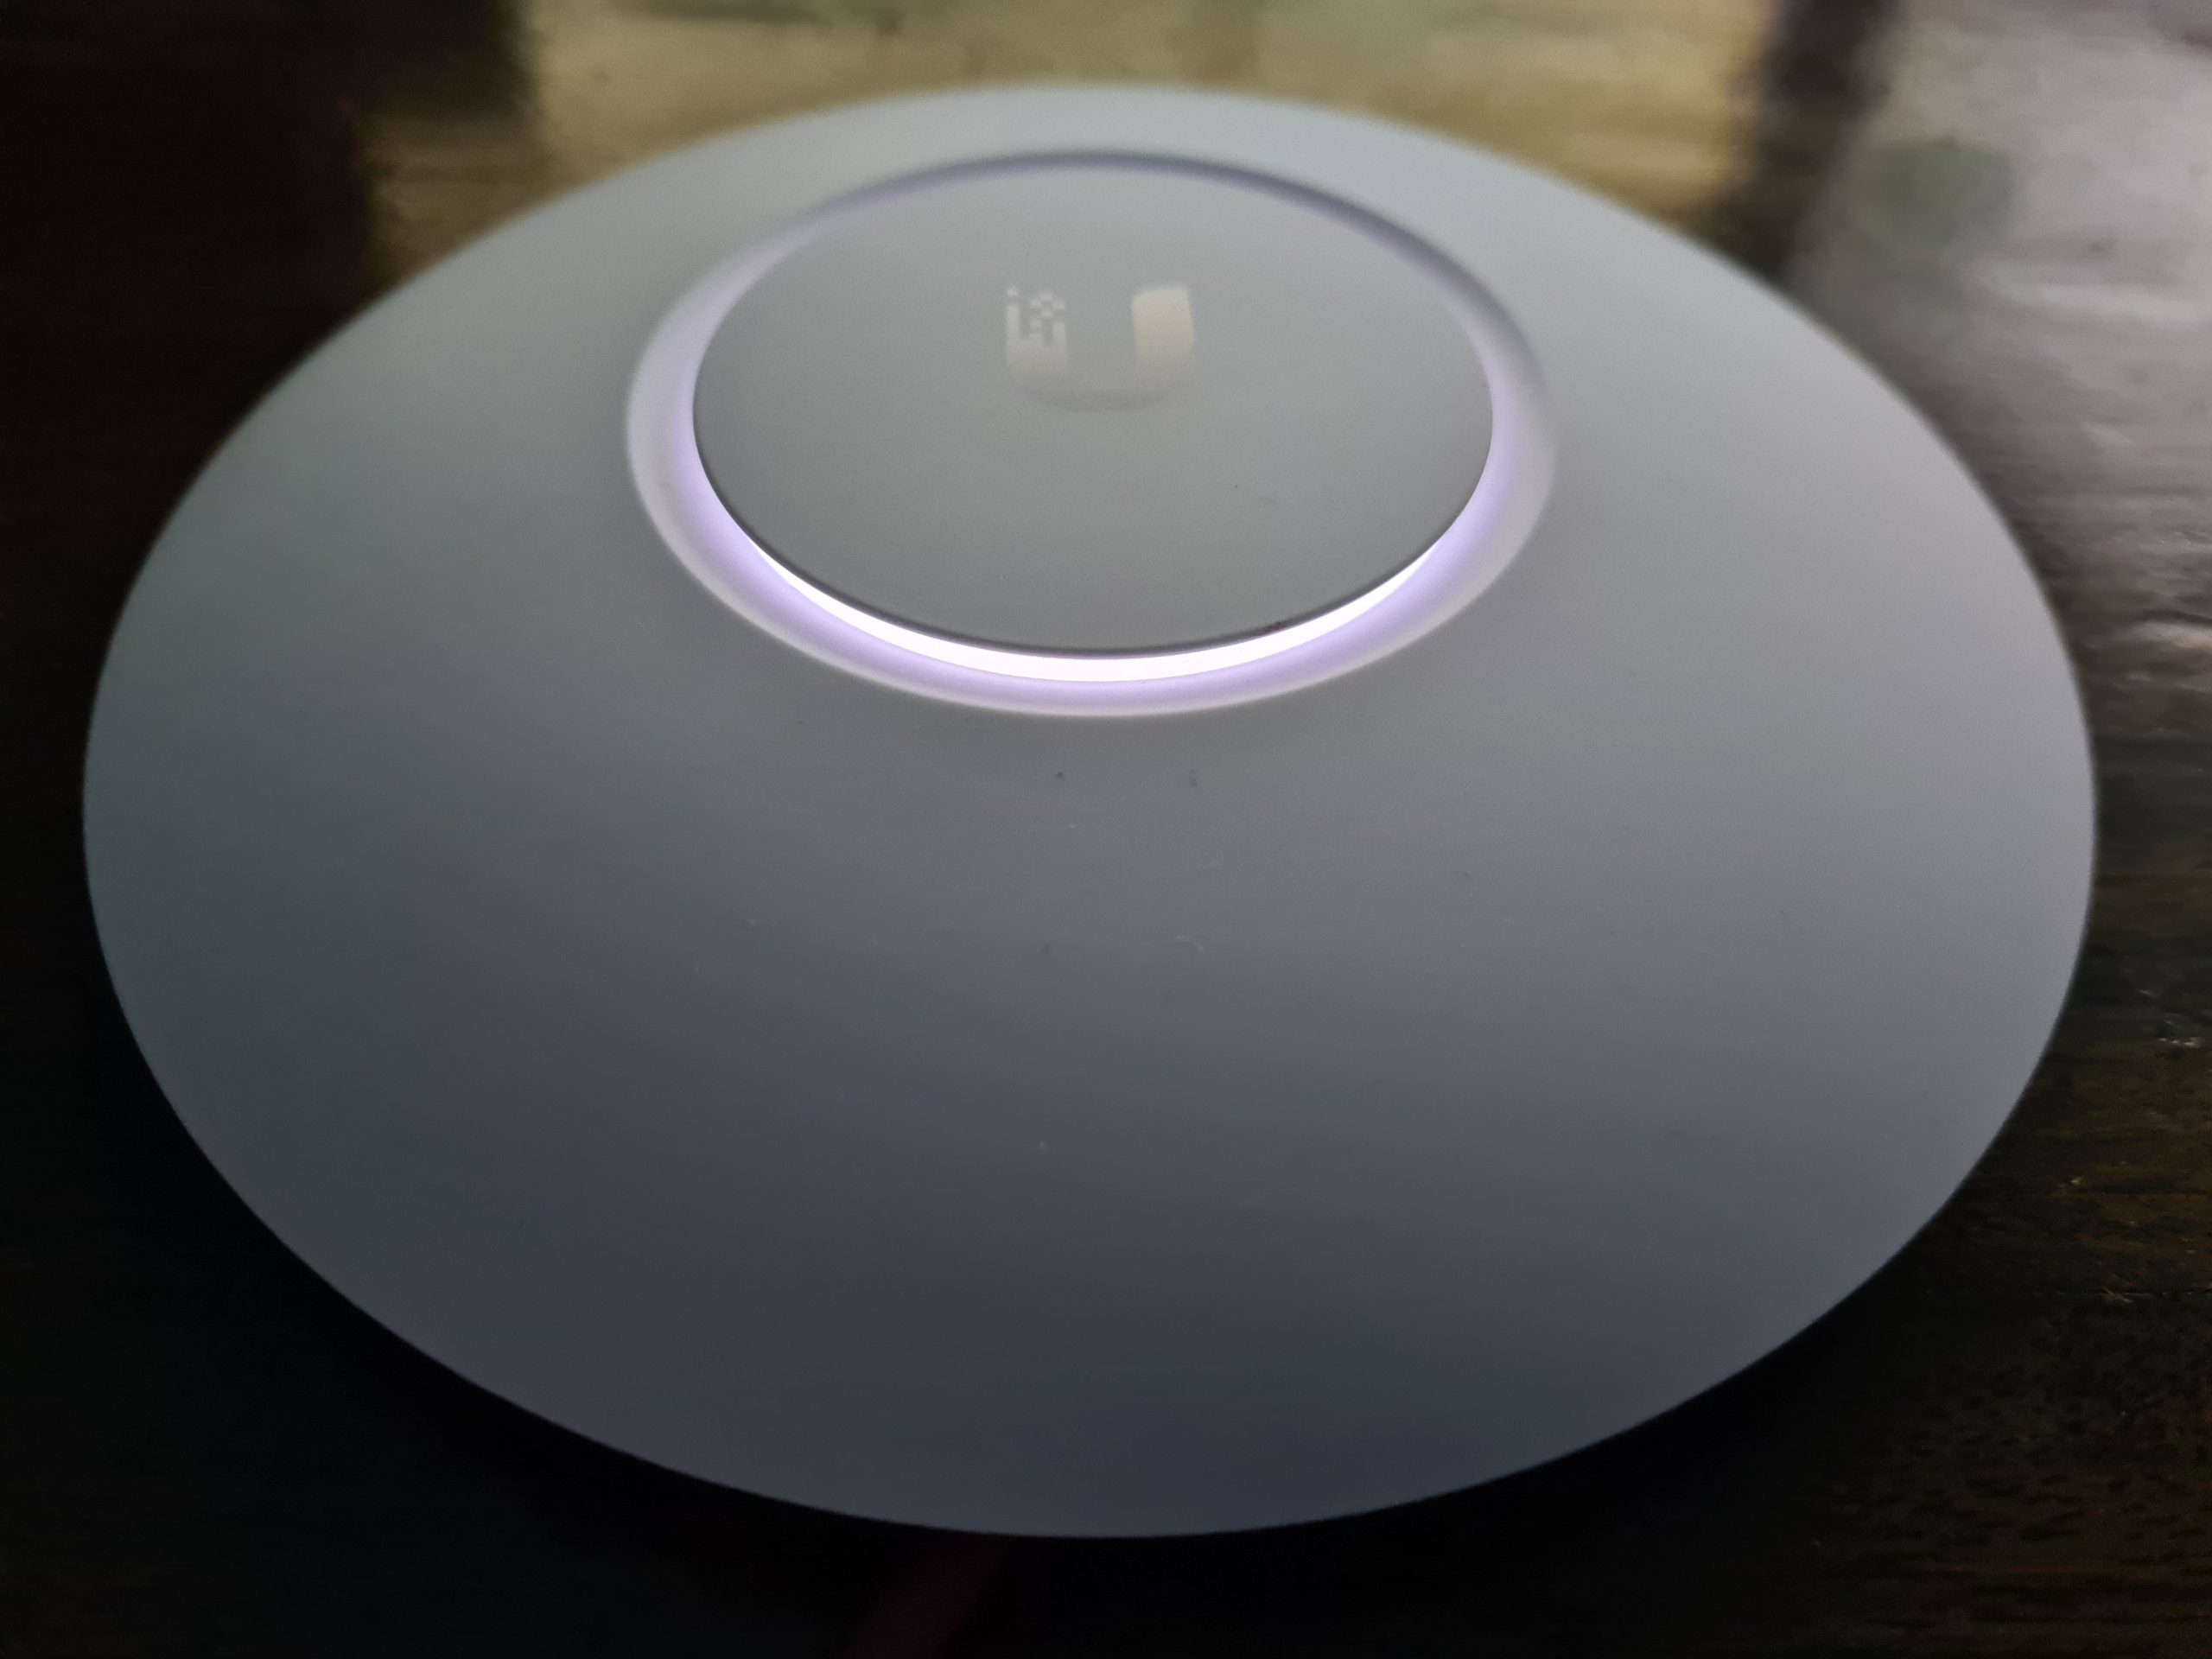
Once you’ve got the device plugged in, you’ll notice that the physical device has a solid white light on, then turns to a flashing white light for a minute or so, then turns back to a solid white light. What this means is that your device is not yet adopted by your network.
And here’s what that looks like in your UniFi Controller Software. If you aren’t sure what that is, we’ve done a few other blog posts that cover this off in a bit more detail including How to Setup a Ubiquiti UniFi Managed Switch On Your Network so take a read over that if you haven’t yet got your UniFi Controller Software set up and running.
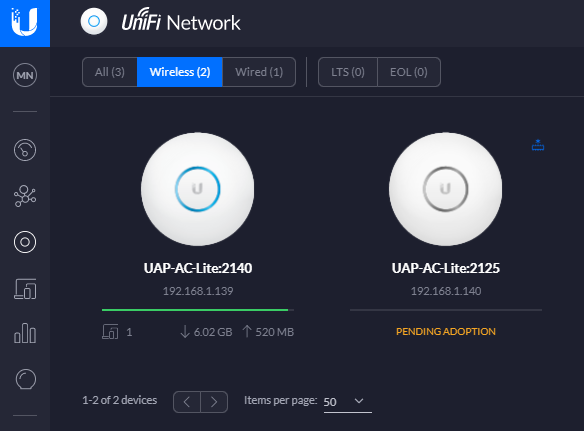
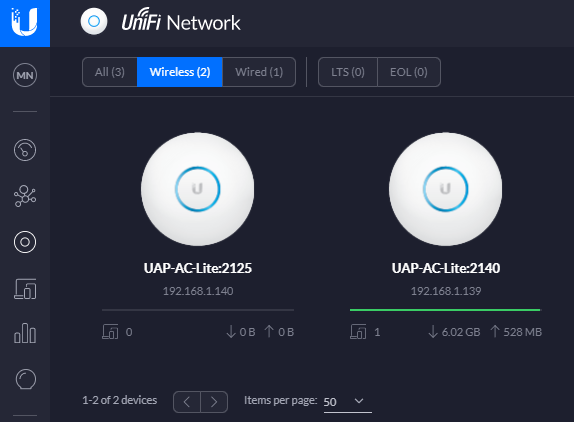
In the above image you can see there are two wireless access points on the network, one that has already been adopted and one that is yet to be adopted so you can see the difference for how the devices display.
Adopt the UniFi AP-AC-Lite Wireless Access Point Device
To welcome your new device onto your network officially simply click onto the device that is pending adoption which will open a pop out window as can be seen below;
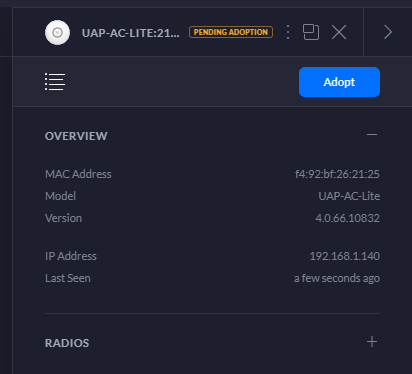
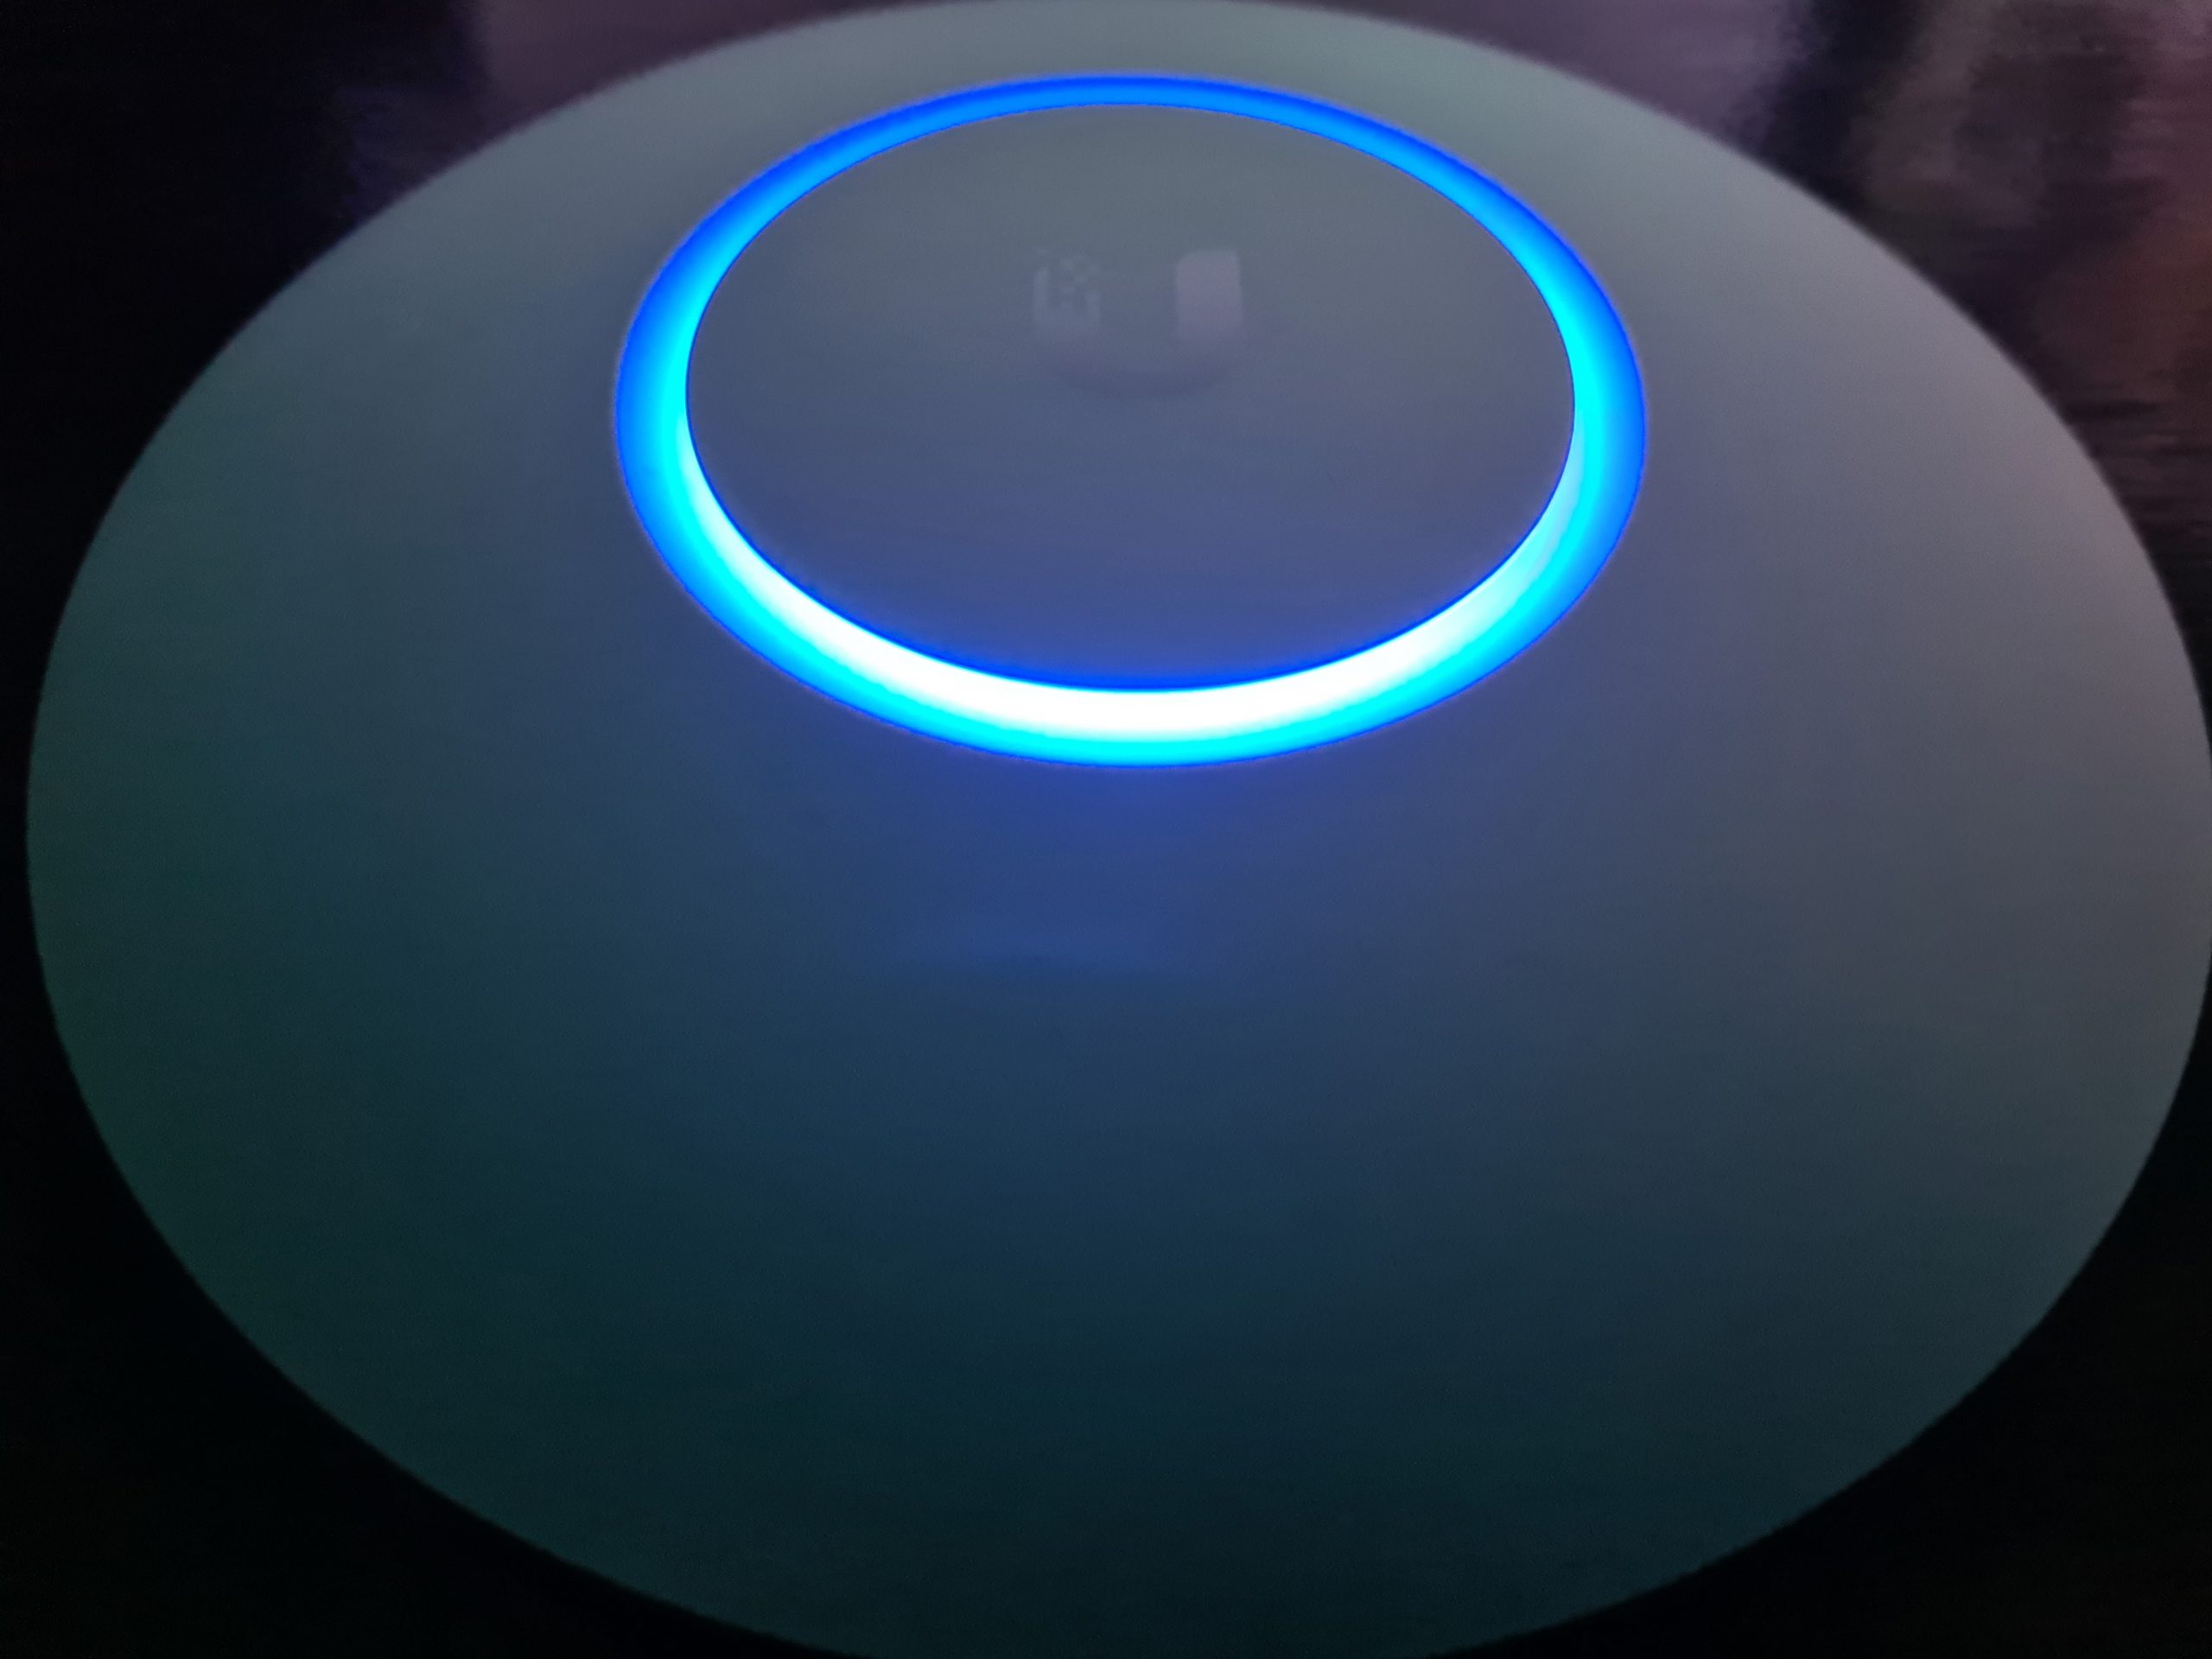
Simply click on the Adopt button to get started. Once you’ve done this, you’ll notice the status of the device turn to a blue light and within the UniFi Controller Software the device will switch to Pending Adoption, then Provisioning. Once it’s done you’ll notice the device is ready to go;
Then you’ll notice that your device is ready to go within the UniFi Controller Software too. The device doesn’t have a green light beneath it as there are no connected wireless clients connected to the device yet.
One point to note is that if you’ve just received your UniFi Wireless Access Point, then it’s highly likely that there are some updates waiting for you to install on the firmware itself. You’ll notice a little icon in the top right of the device in the above image (not shown, as all devices are up to date) so just click on that and get your devices up to date. There is always going to be the natural lag between when the firmware was originally installed at the manufacturing plant to when it arrives on your doorstep. So thankfully with smart software technology and smart devices you can easily bring your devices up to date with ease. Traditional legacy network hardware often isn’t as smart with this, although many do try to have some form of notification that there are firmware updates ready for installation, once you can find the hidden notification in the system.
Configure a Wireless Network
Now that you’ve got your devices connected, you need to create yourself a wireless network. Out of the box you don’t get a wireless networks configured, you need to configure this yourself. This mainly consists of two parts;
- Creating an SSID, aka. a Service Set IDentifier, or more commonly known as the broadcast name of your wireless network like what you see when you try to connect to local wireless networks, it’s the name that identifies itself
- Giving your wireless network a password so that your users can connect securely
To do this, simply navigate to your Settings page (bottom left of the UniFi Controller Softwre, the Cog icon). And you’ll be able to create a wireless network within there. For simplicity in this blog post we’re going to just look at a LAN, so no VLANs and complex Profiles etc. Just so you can get up and running quickly. Top tip – Switch to the Classic Settings user interface as at the time of writing, this still supports more features and functionality. You’re probably fine with basic networks using the more modern interface, but you’ll soon find that basic networking infrastructure settings are invisible in the modern interface at the moment, they will be coming in due course though.
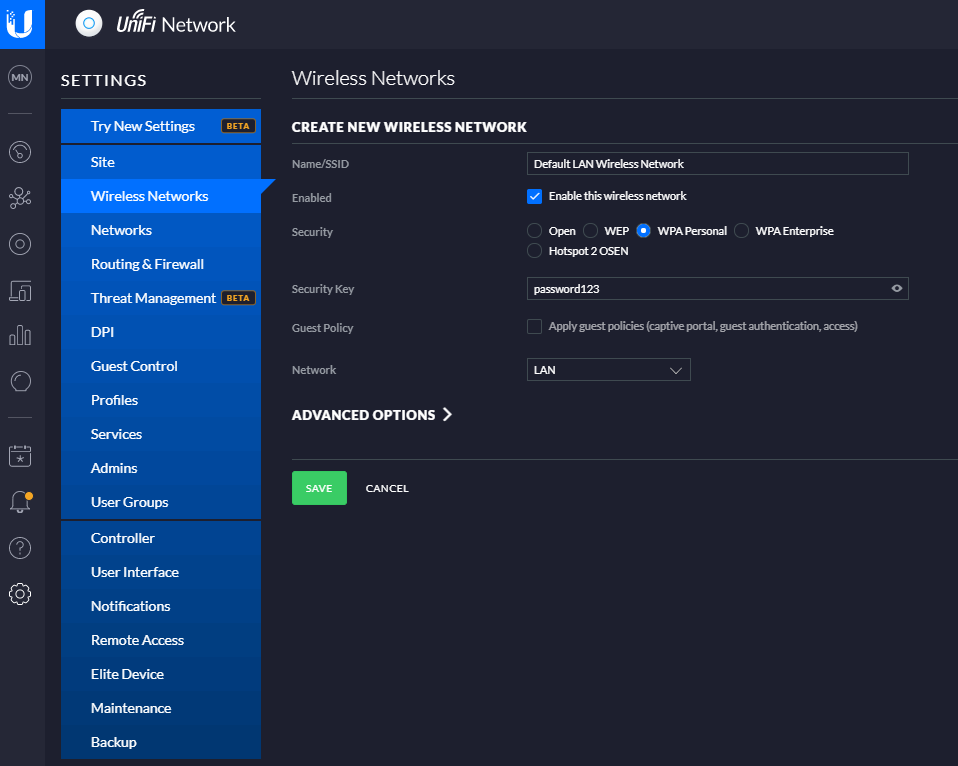
And before anyone points out the obvious…. Yes, give your wireless network (SSID) a decent name and don’t choose ‘password123’ as the security key. Also you probably don’t want to select the option to be an Open network from a Security perspective. This is rarely a good idea, and even when you’re using secure VLANs, you should really consider this from a business perspective before providing open, free and inconspicuous WiFi connectivity as there are legal considerations you need to make. But anyhow that’s for another conversation at another time, so for now, that’s how you set up a basic wireless network for your UniFi AP-AC-Lite Wireless Access Point device (and any other similar models…). Once you’re done with this, you’ll then be able to connect to your wireless network from any devices within range. Simple.
Summary
Awesome, you’re good to go! We’re going to keep this blog post simple and not cover anything related to VLANs or managed switches and unmanaged switches. We’ve covered some of these topics before and we’ll be covering some of the other topics in the near future. For now, you’re all set up with your Ubiquiti UniFi AP-AC-Lite Wireless Access Point so you’re good to start using it.
Hopefully this blog post has been useful to get you up and running with a very basic network configuration using the Ubiquiti UniFi AP-AC-Lite Wireless Access Point on your network. There are many different models from the UniFi range that this same logic applies to for your UniFi Wireless Access Point devices, so this isn’t really specific to this model.
by Michael Cropper | Mar 16, 2021 | Client Friendly, IT, Networking |
I wanted to do a quick unboxing blog post on the Ubiquiti UniFi Access Point, AP-AC-Lite, so that you know what you’re getting when you make the purchase. This will be a fairly quick blog post.
UniFi Access Point AP-AC-Lite Unboxing
First of all, one thing that really stands out with the quality of the box, how well packaged the device is inside the box and just the general feel of all the hardware your are touching, it just feels good quality. You know what I mean by this if you’ve handled a lot of different computer and network hardware, you can really tell how well something is made just by having a good touch and feel of it.
The UniFi AP-AC-Lite model from UniFi is their basic entry level access point which is designed for smaller number of clients accessing the access point. The reality is that there is no hard and fast rule for how many clients any access point can handle, you have to use your judgement on this based on the information you have at hand. And even then, you’ll probably get it wrong at times even with lots of experience – and that’s just the reality of working with IT hardware, sometimes you need to adjust depending on the reality of your use case in the real world.
The Box
One thing that is very noticeable when you get the UniFi Access Point AP-AC-Lite is that the box just feels nice. It feels extremely good quality from both the weight and the texture. It’s clear that they have thought a lot about these products right from the outset – even before opening the box.


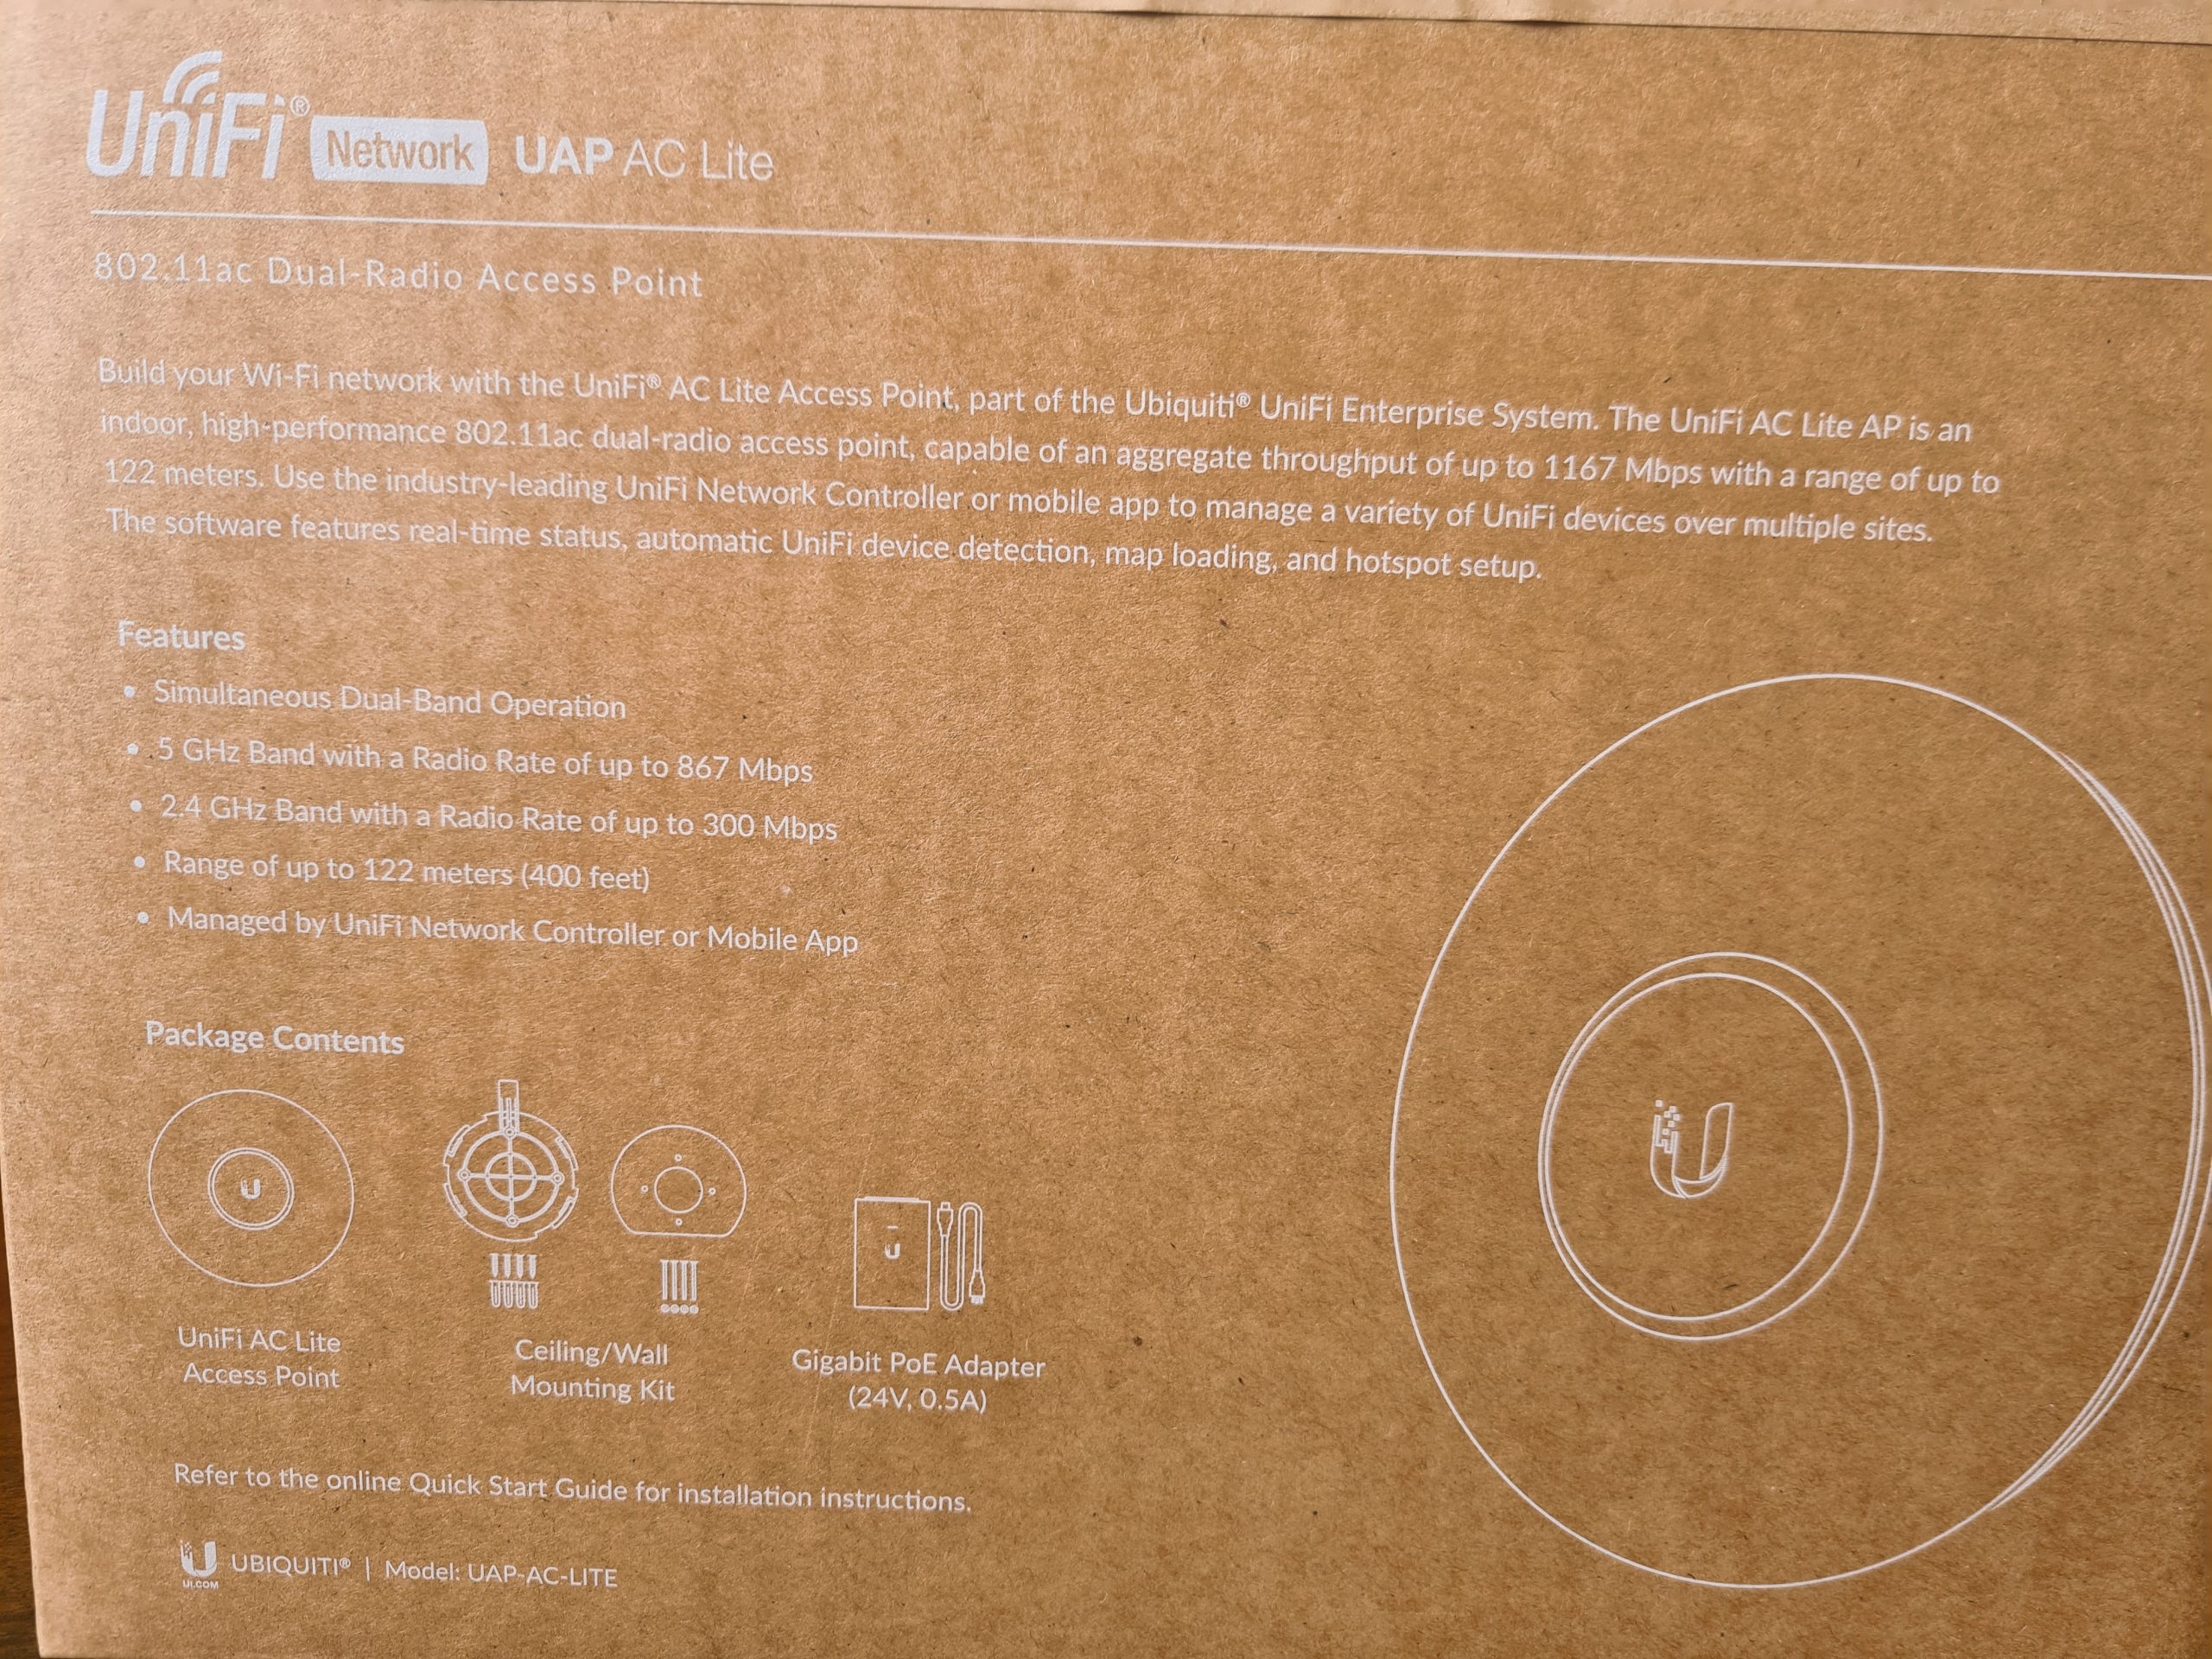
What you’ll notice in the image below is some of the core components that are waiting for you inside the box itself. You’ll find the UniFi UAP AC Life device itself along with a ceiling/wall mounting kit (including screws) plus a very handy Gigabit Power over Ethernet (PoE) adapter which can come in very useful if you haven’t got PoE capable switches (or capacity!) for where you are planning on connecting your UniFi access point to. Quite handy to know is that this UAP AC Lite device is capable of reaching a range of up to 122 meters, aka. 400ft. For larger distances, the Ubiquiti UniFi range of hardware has better devices capable of broadcasting over longer ranges. Always be sure to know as much as you can about the variety of UniFi hardware available prior to making a purchase. Speak to your knowledgeable expert on the topic.
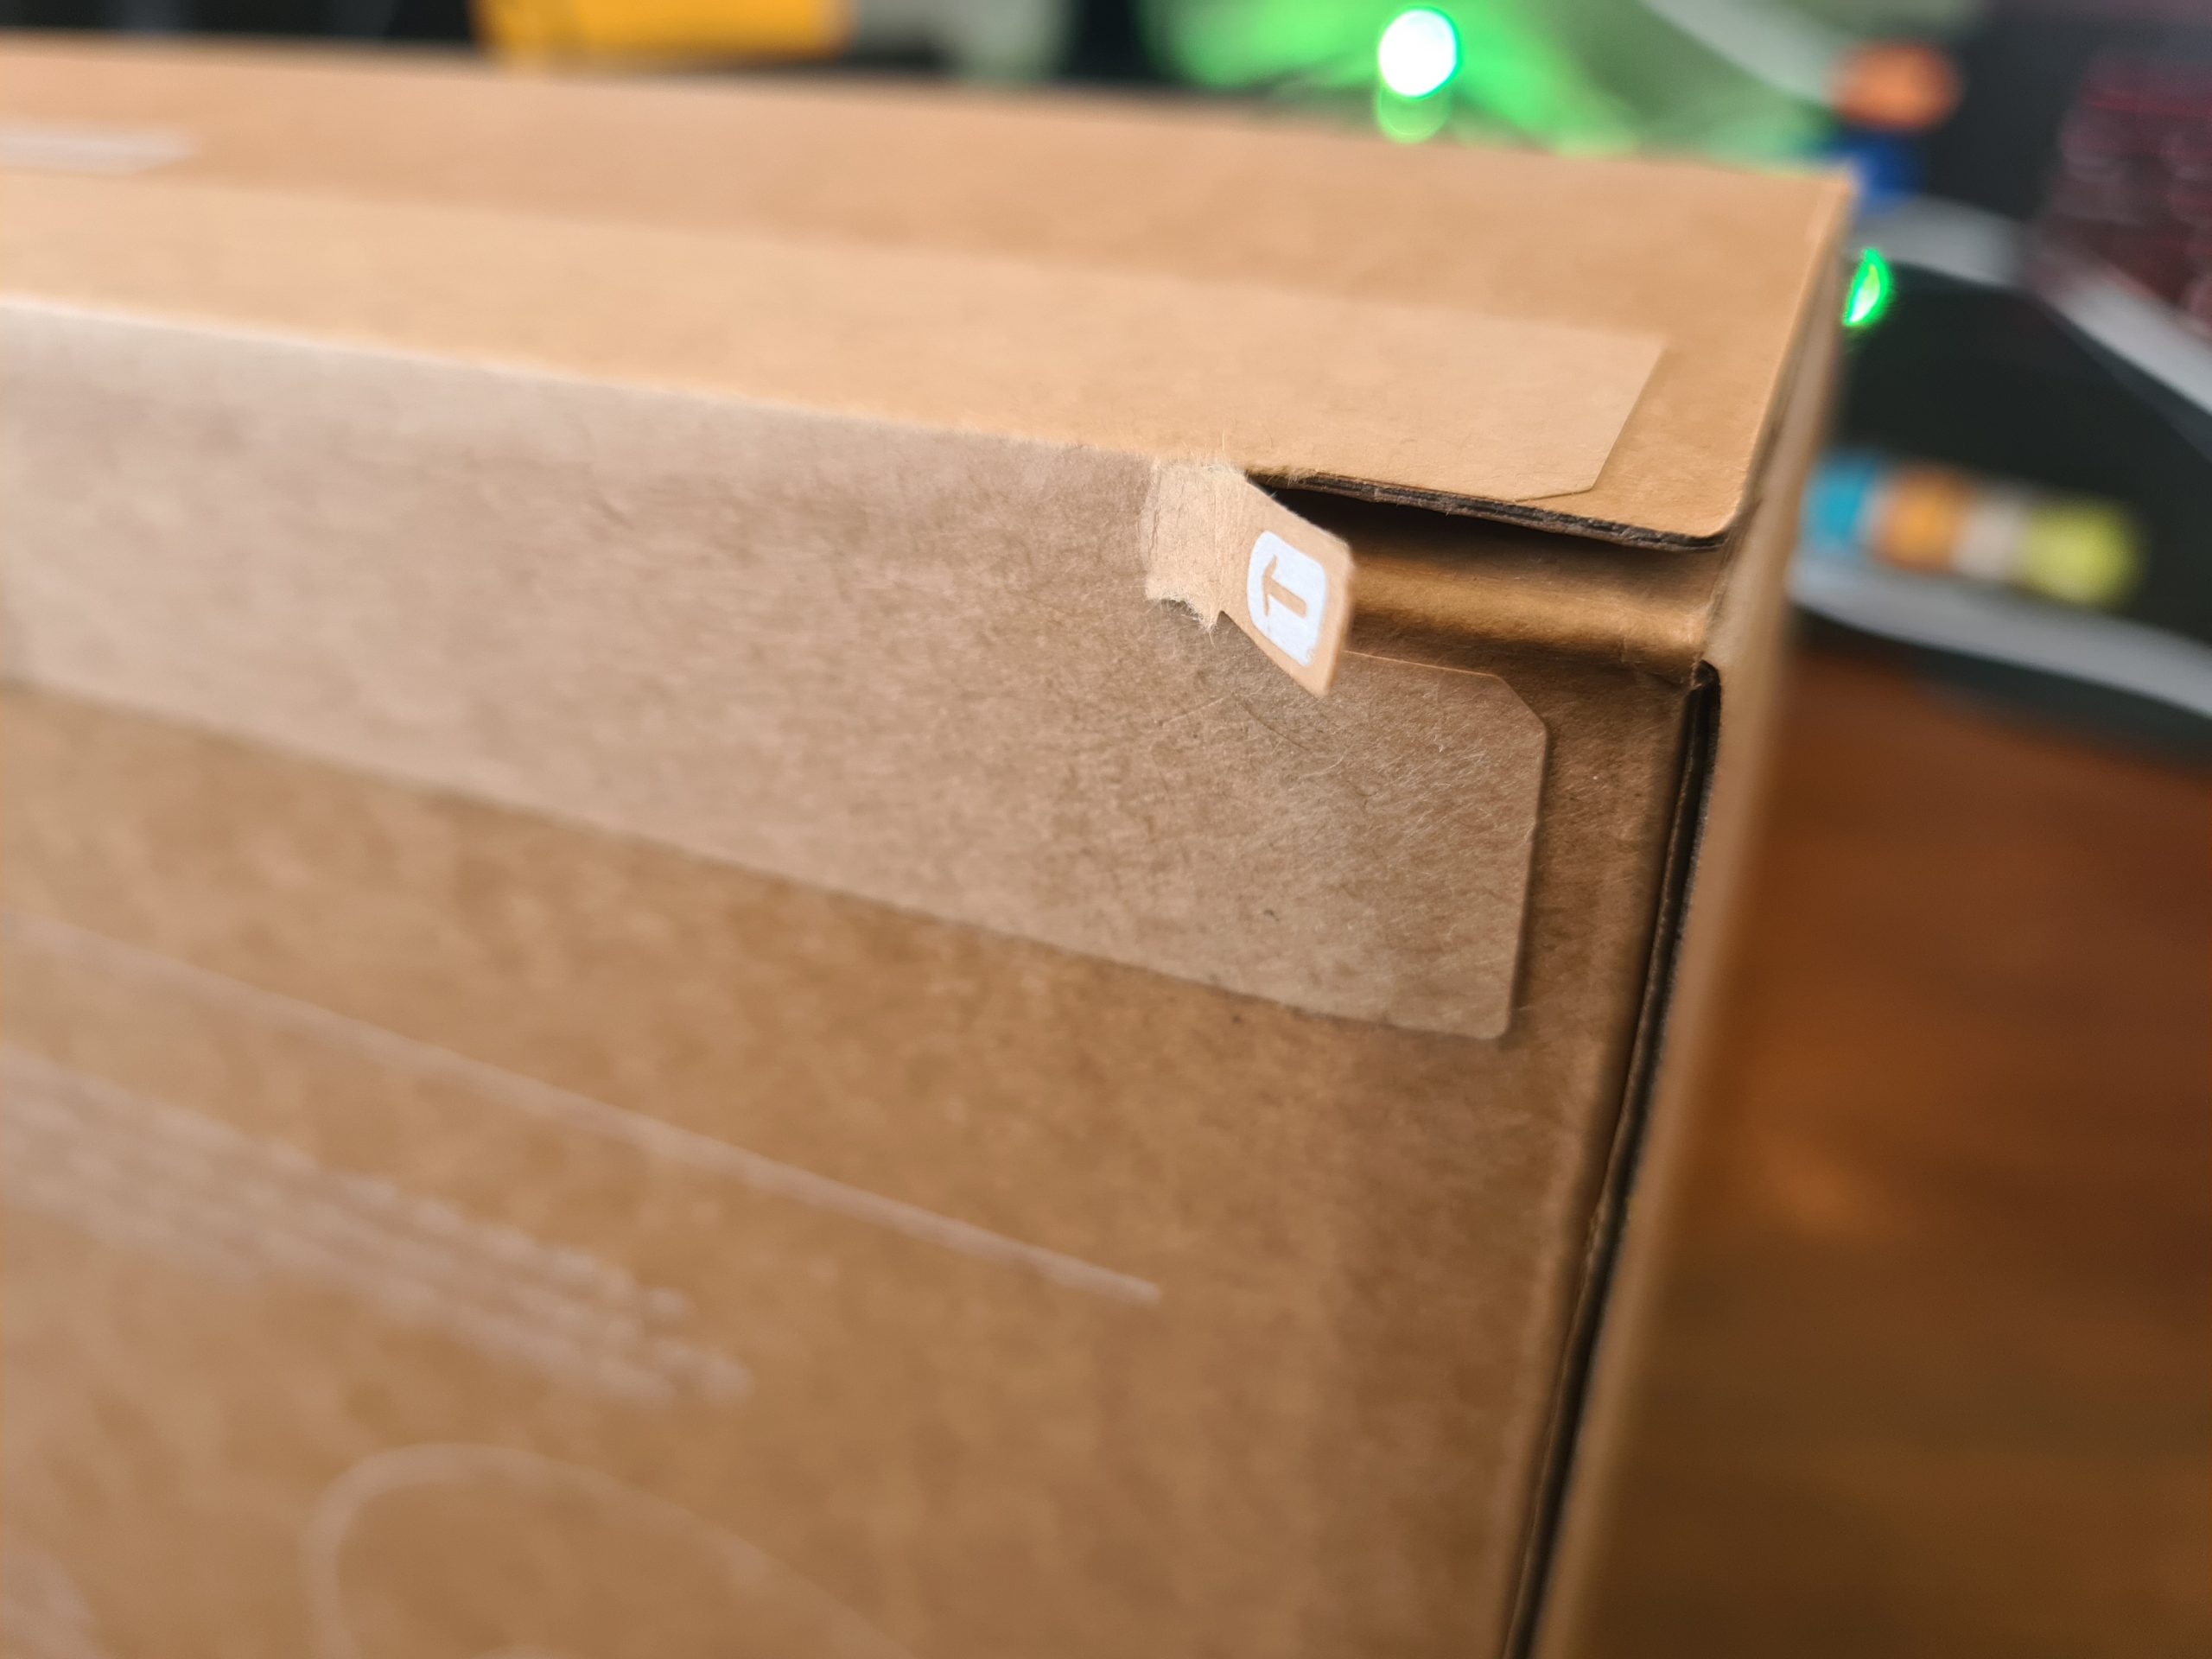
What is a nice little touch on how the UniFi AP-AC-Lite device is boxed up is the Amazon/USA style rip-to-open outer packaging. It is a nice feel that you are opening a product that is being delivered. This being said, it’s a huge hope that what is being delivered is suitable for your specific needs. Once opened, the returns policy is going to be very dependent on the local distributor from whom you purchased the device from. Most IT hardware suppliers are happy for you to return hardware as long as it is in a re-saleable condition, and unfortunately this is the only one slight drawback we have about this packaging, that is isn’t re-saleable due to the outer packaging design. But hey, the UniFi AP-AC-Lite Wireless Access Point works so well, that it’s unlikely that you’ll be returning this anyhow.
Inside the Box for the UniFi AP-AC-Lite Device
Ok, so here’s what we’re presented with once we’ve unpackaged the UniFi AP-AC-Lite wireless access point device. Just to re-iterate, the packaging between the boxed version above and the unboxed version below is extremely well packaged. Super compact and extremely well packaged to manage the terrains of product transit through the worst of delivery companies.
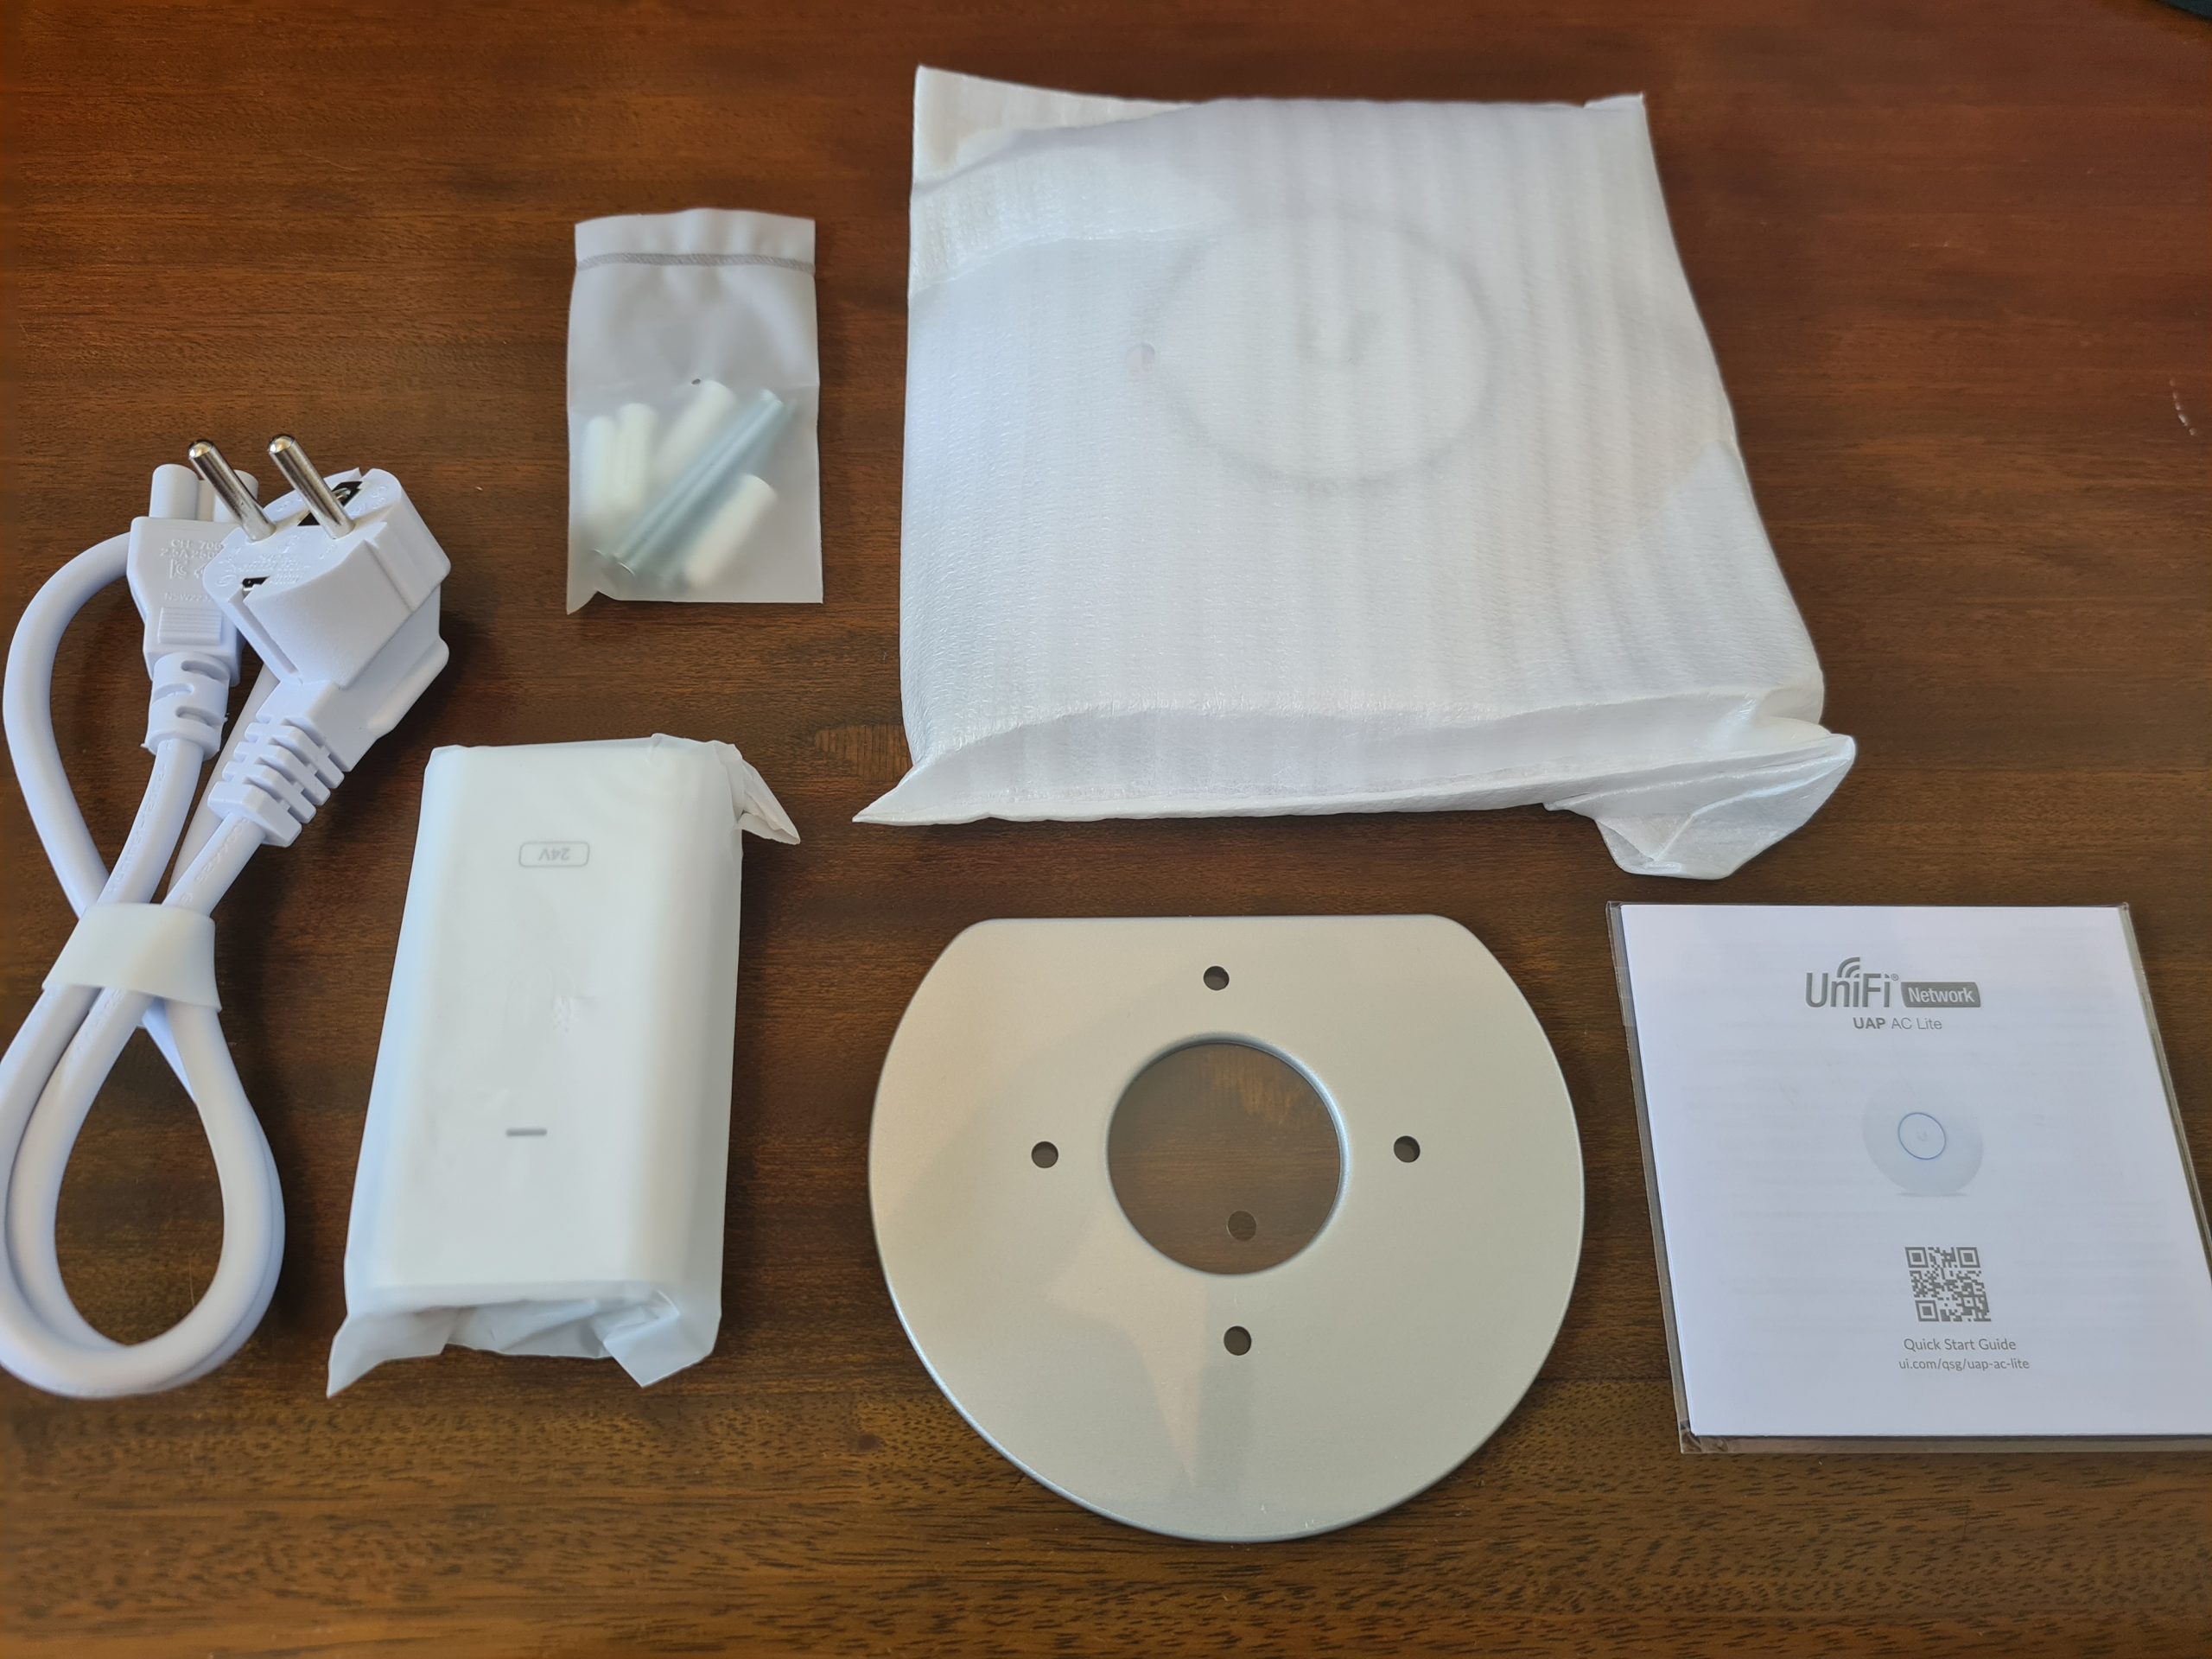
What you’ll notice above is that we’ve got several core items within the product box;
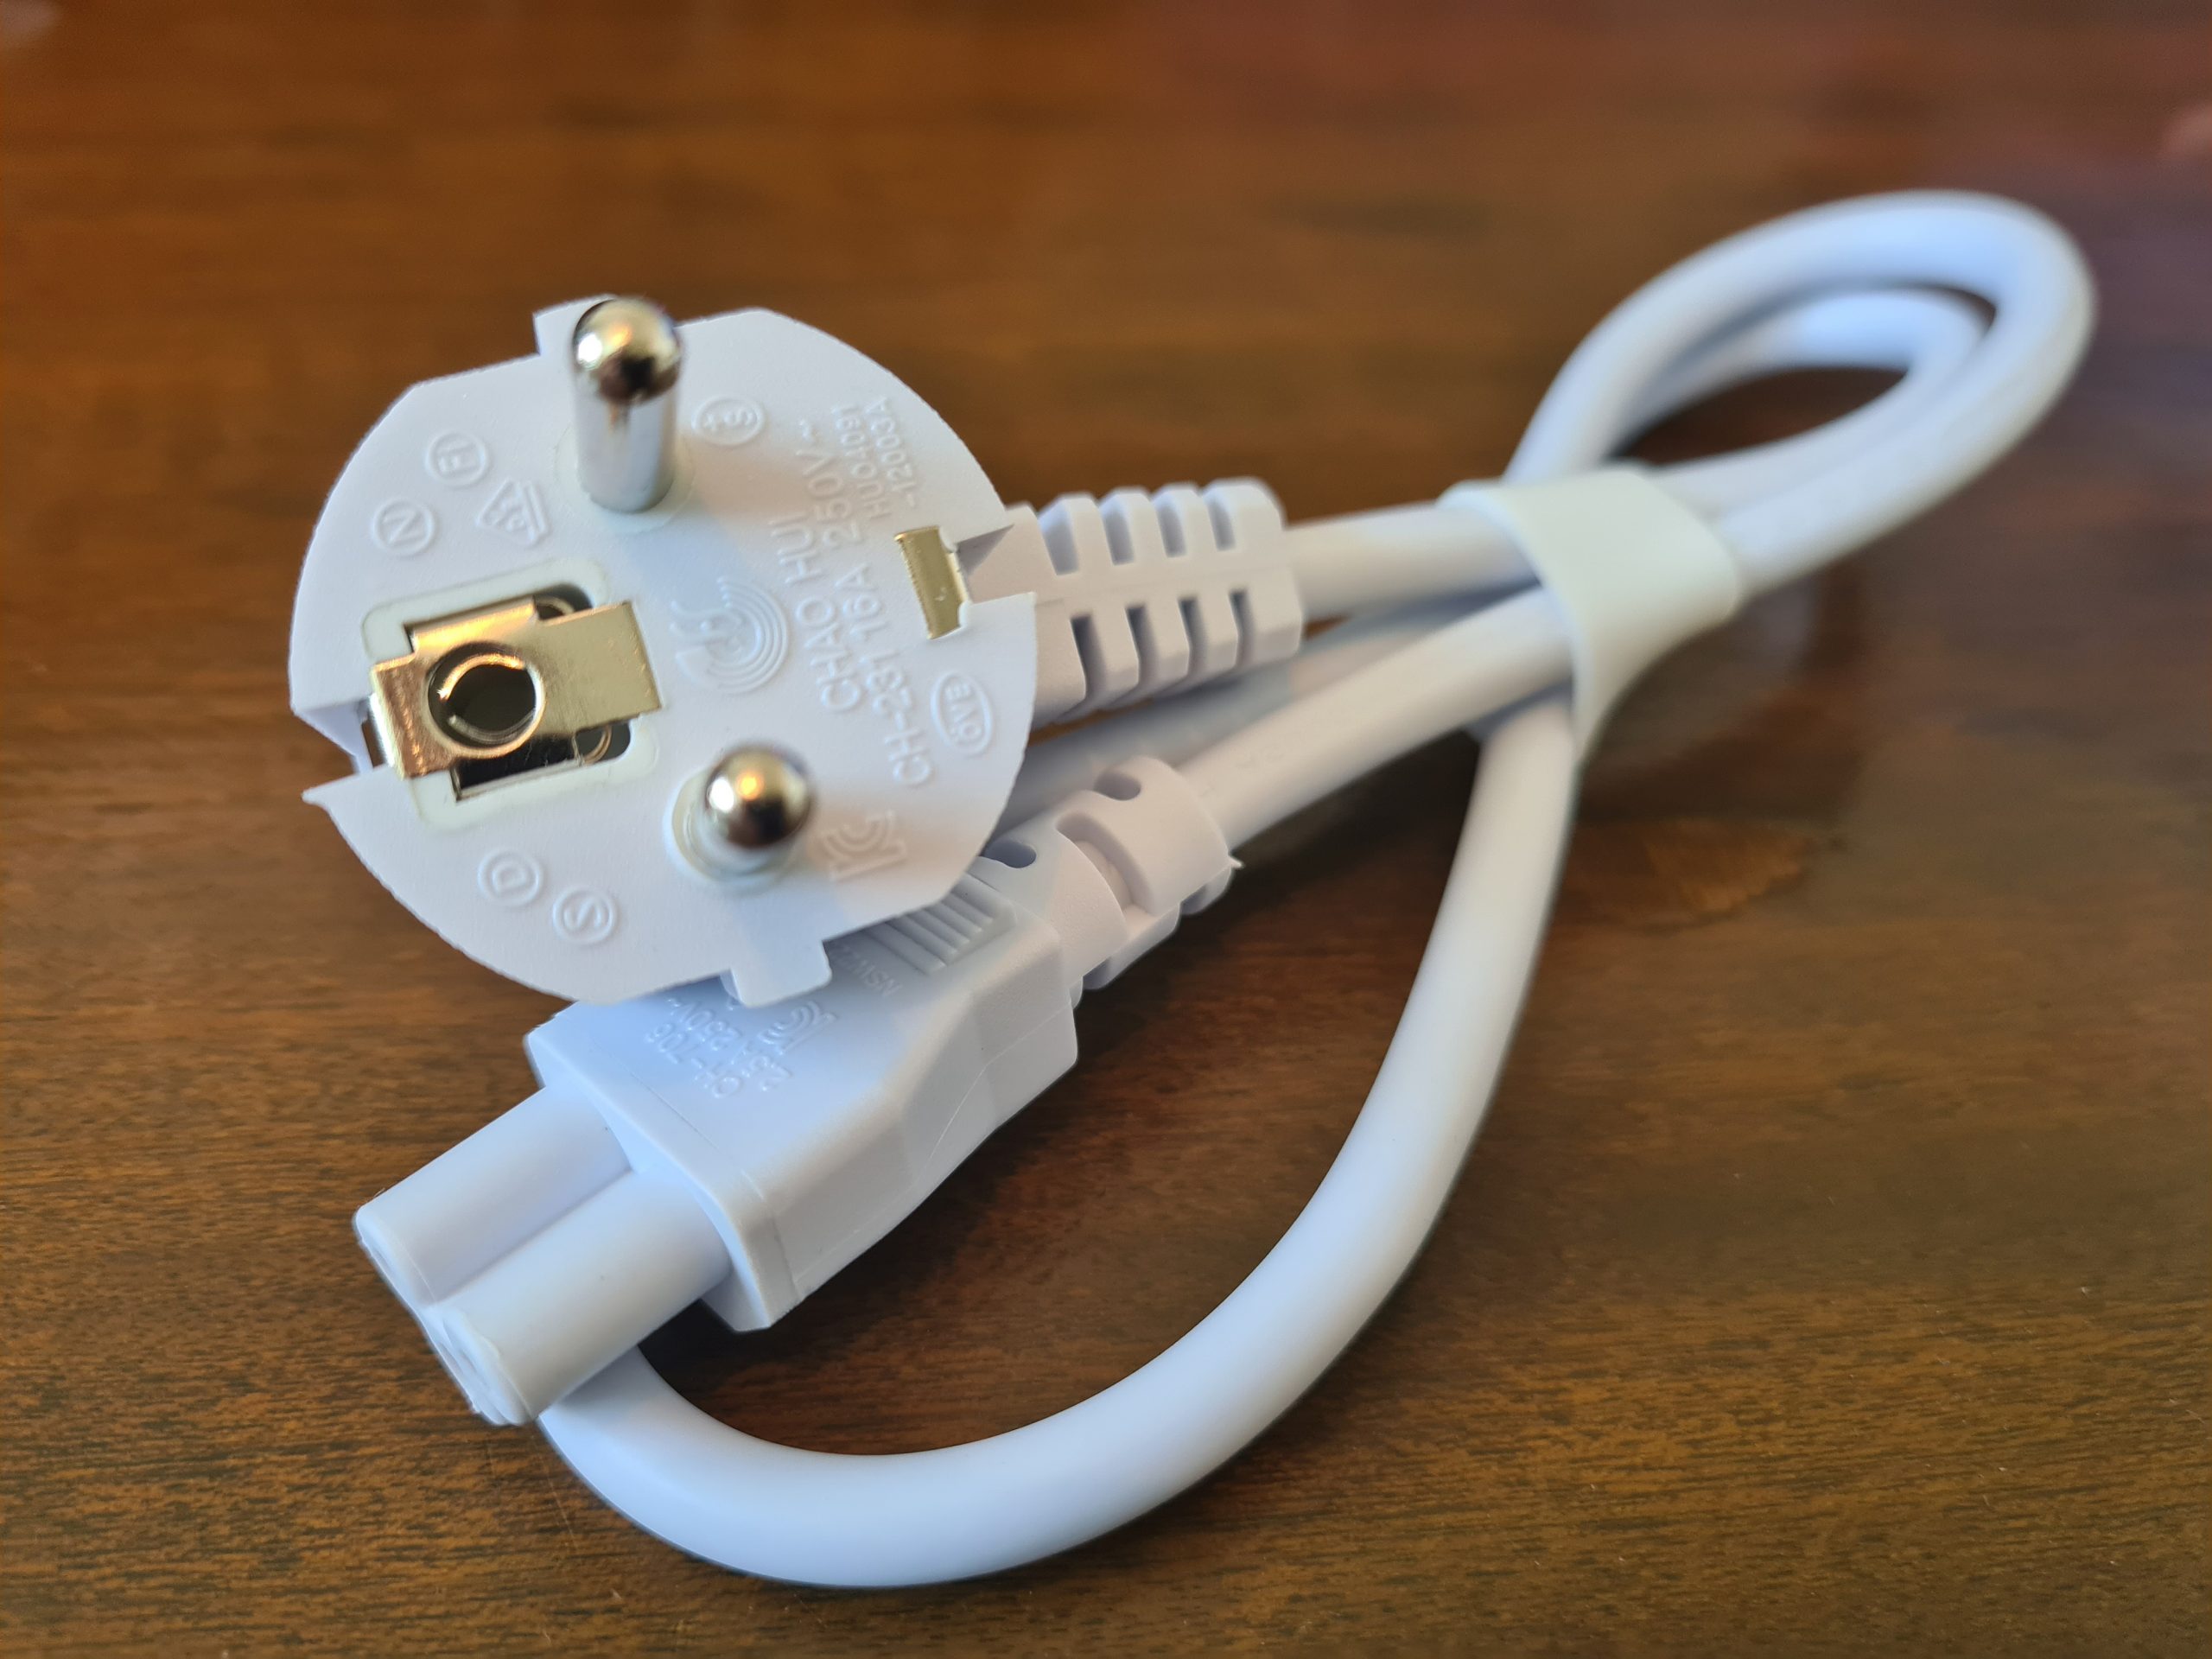
- USA Plug Adapter – Great if you’re USA based, but not so great if you’re UK Based. Thankfully our supplier for IT hardware equipment clearly has an arrangement in place with UniFi to supply a UK Based Plug for the device. Same UniFi branding / look / feel. Not sure if this is standard, but it’s just something to keep in mind when purchasing this IT hardware and equipment.
- UniFi Power over Ethernet (PoE) Device – This is the device that the above power adapter plugs into. This is potentially a device that you need. And this is because it depends if your managed switch supports PoE technology. Some devices support this heavily, others partially, and others simply don’t support PoE at all – hence why this device is often required in your setup. Personally I think that UniFi could significantly reduce the cost of their product by not shipping this device to their customers. A basic How-To guide for pre-purchase activities to enable customers to understand what they need to purchase under what circumstances would significantly help with this. I’d estimate that this would easily save £15 – £25 off the product cost if they were to implement a more structured purchasing process. Buy hey, I’ll leave that with them, if they want to reach our to me to discuss this business operational improvement then they are more than willing to do so.
- UniFi AP-AC-Lite Device itself – Kind of self-explanatory
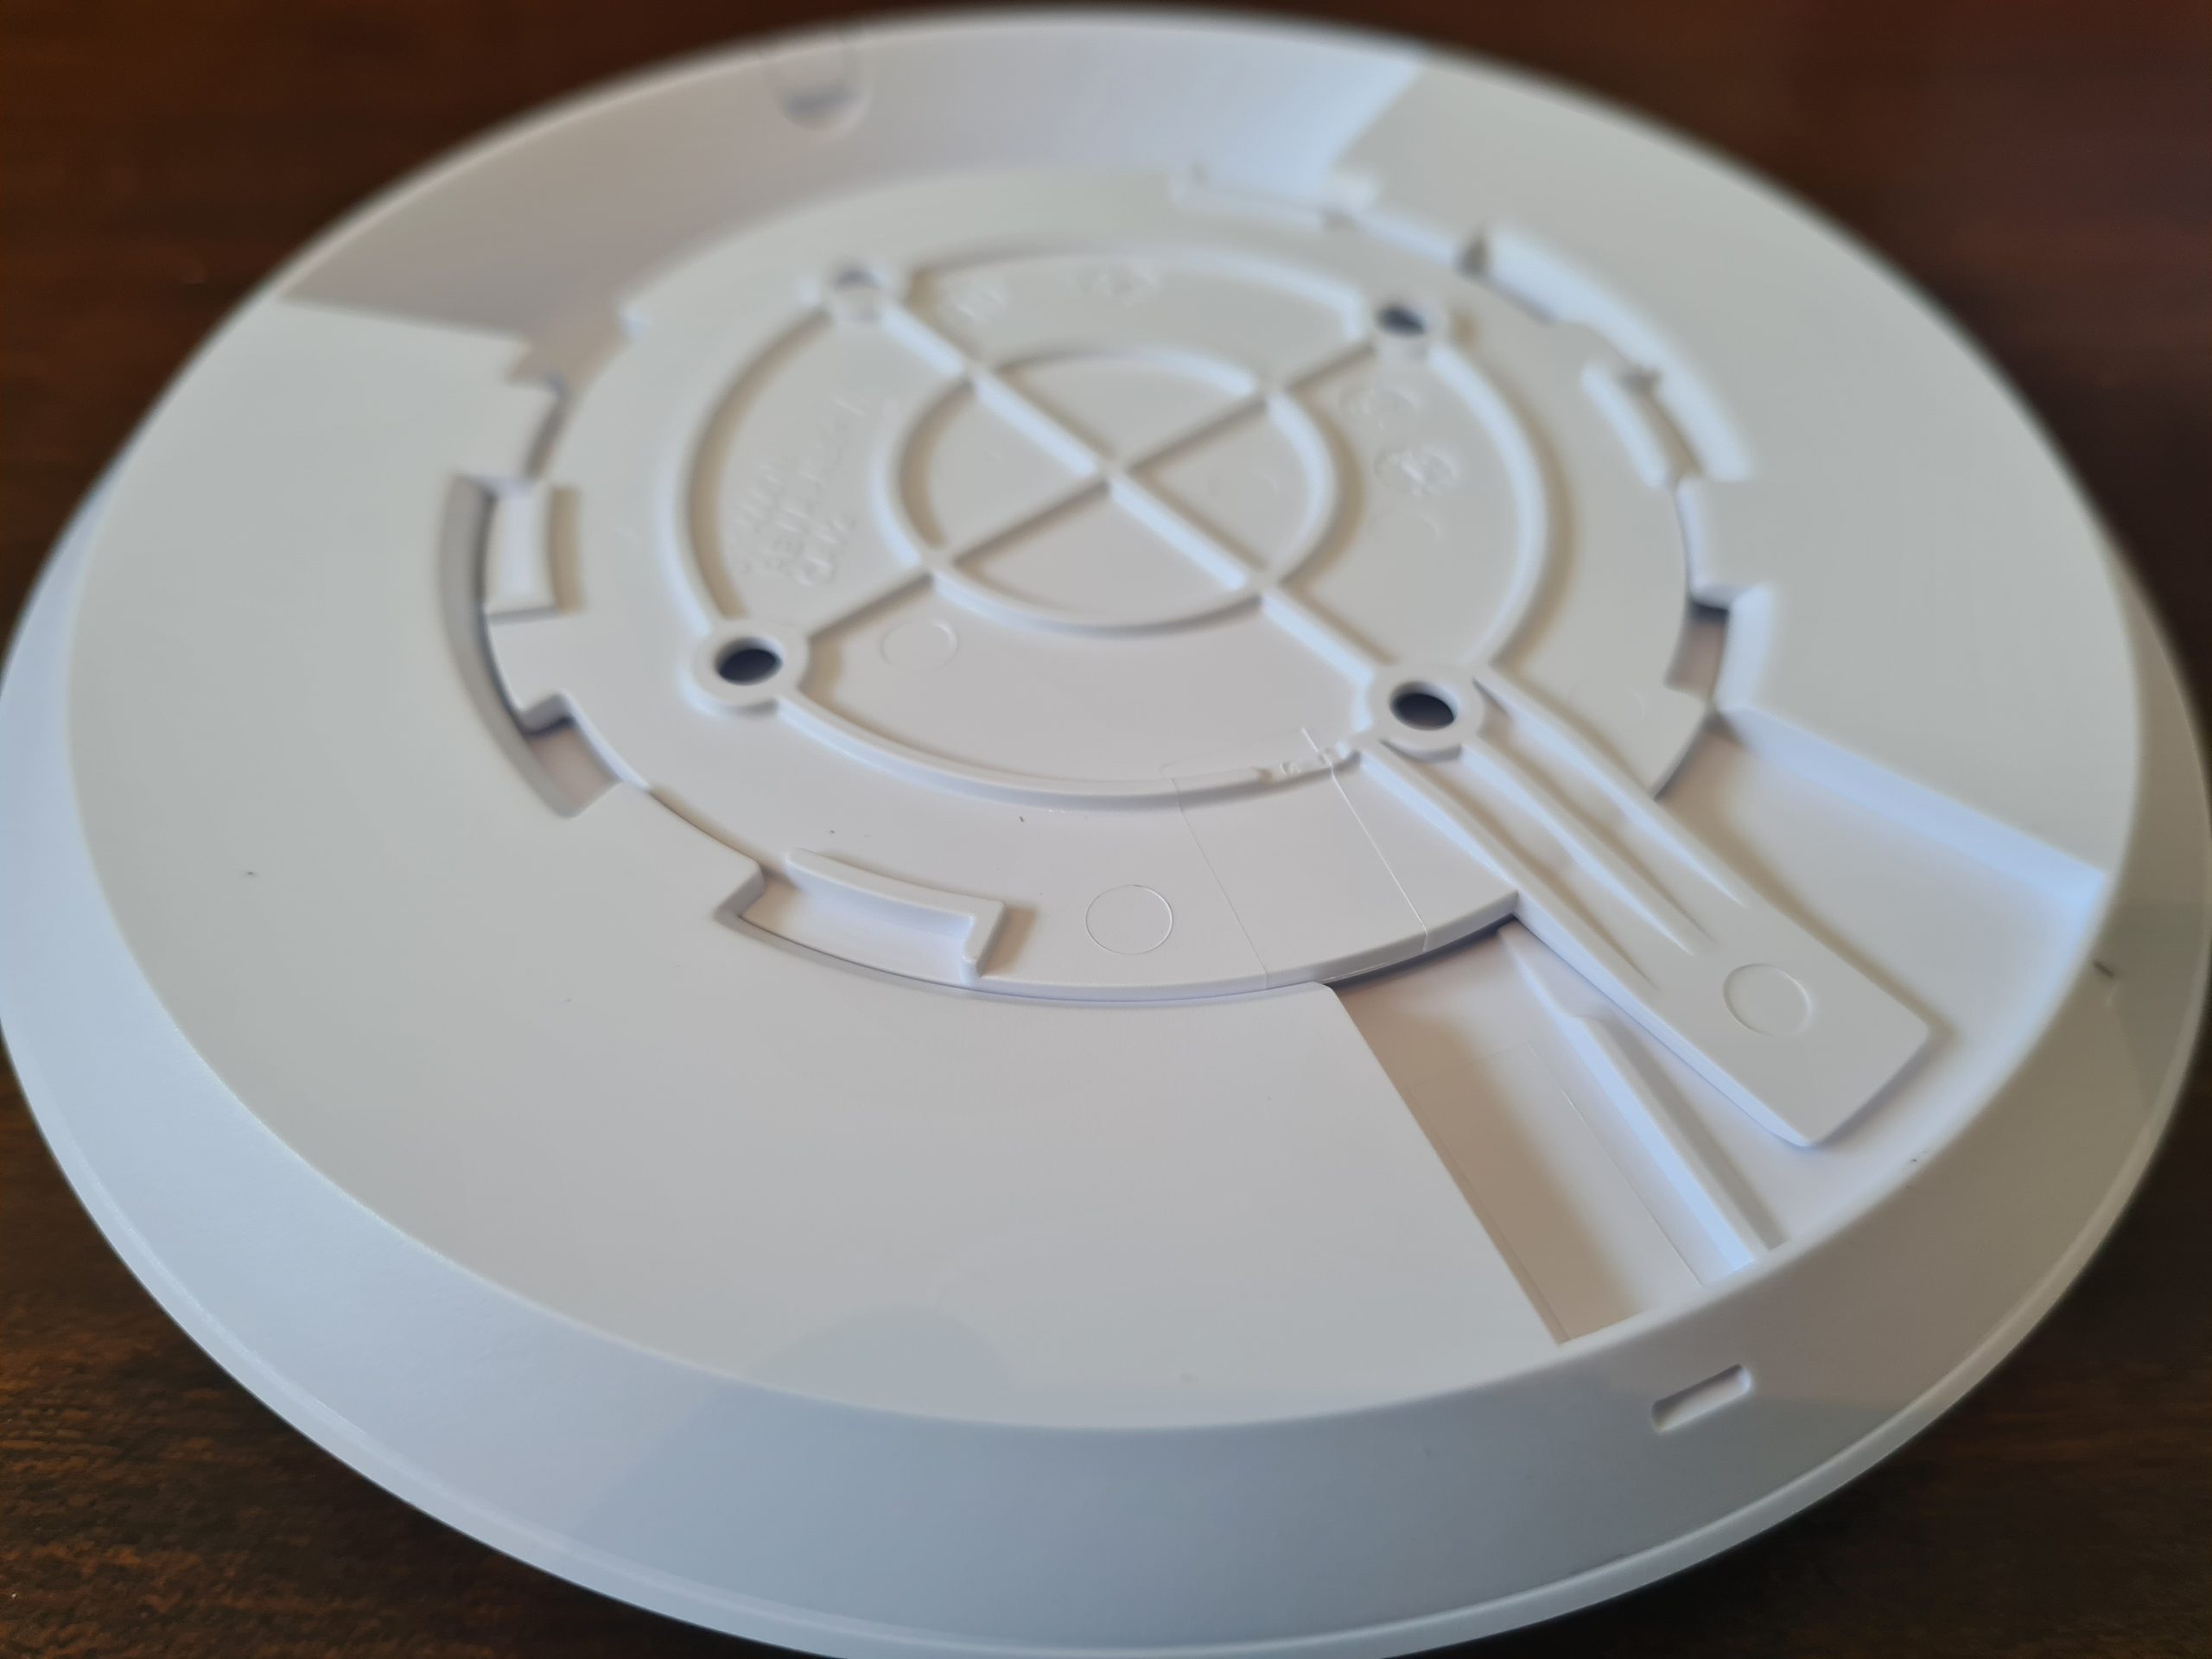
- Mounting Point – This is actually quite a nice device that let’s you easily secure your device to the wall or ceiling. As you’ll see later there is a handy detachable panel beneath the UniFi AP-AC-Lite access point that allows you easily connect this panel to the panel that attaches to the wall.
- Screws and Wall/Ceiling Plugs – Very handy so that you don’t have to source the specific sizes/lengths/width of screws and wall plugs to get the device attached to the location that you are looking to get this attached to. The reality is that these default screws are only a best guess, so it’s highly likely that you will need to source the specific screws and plugs that are relevant to where you are attaching the device to. But it’s a nice touch from Ubiquiti for common use cases.
Hardware Specifics
The Ubiquiti UniFi AP-AC-Lite Device;
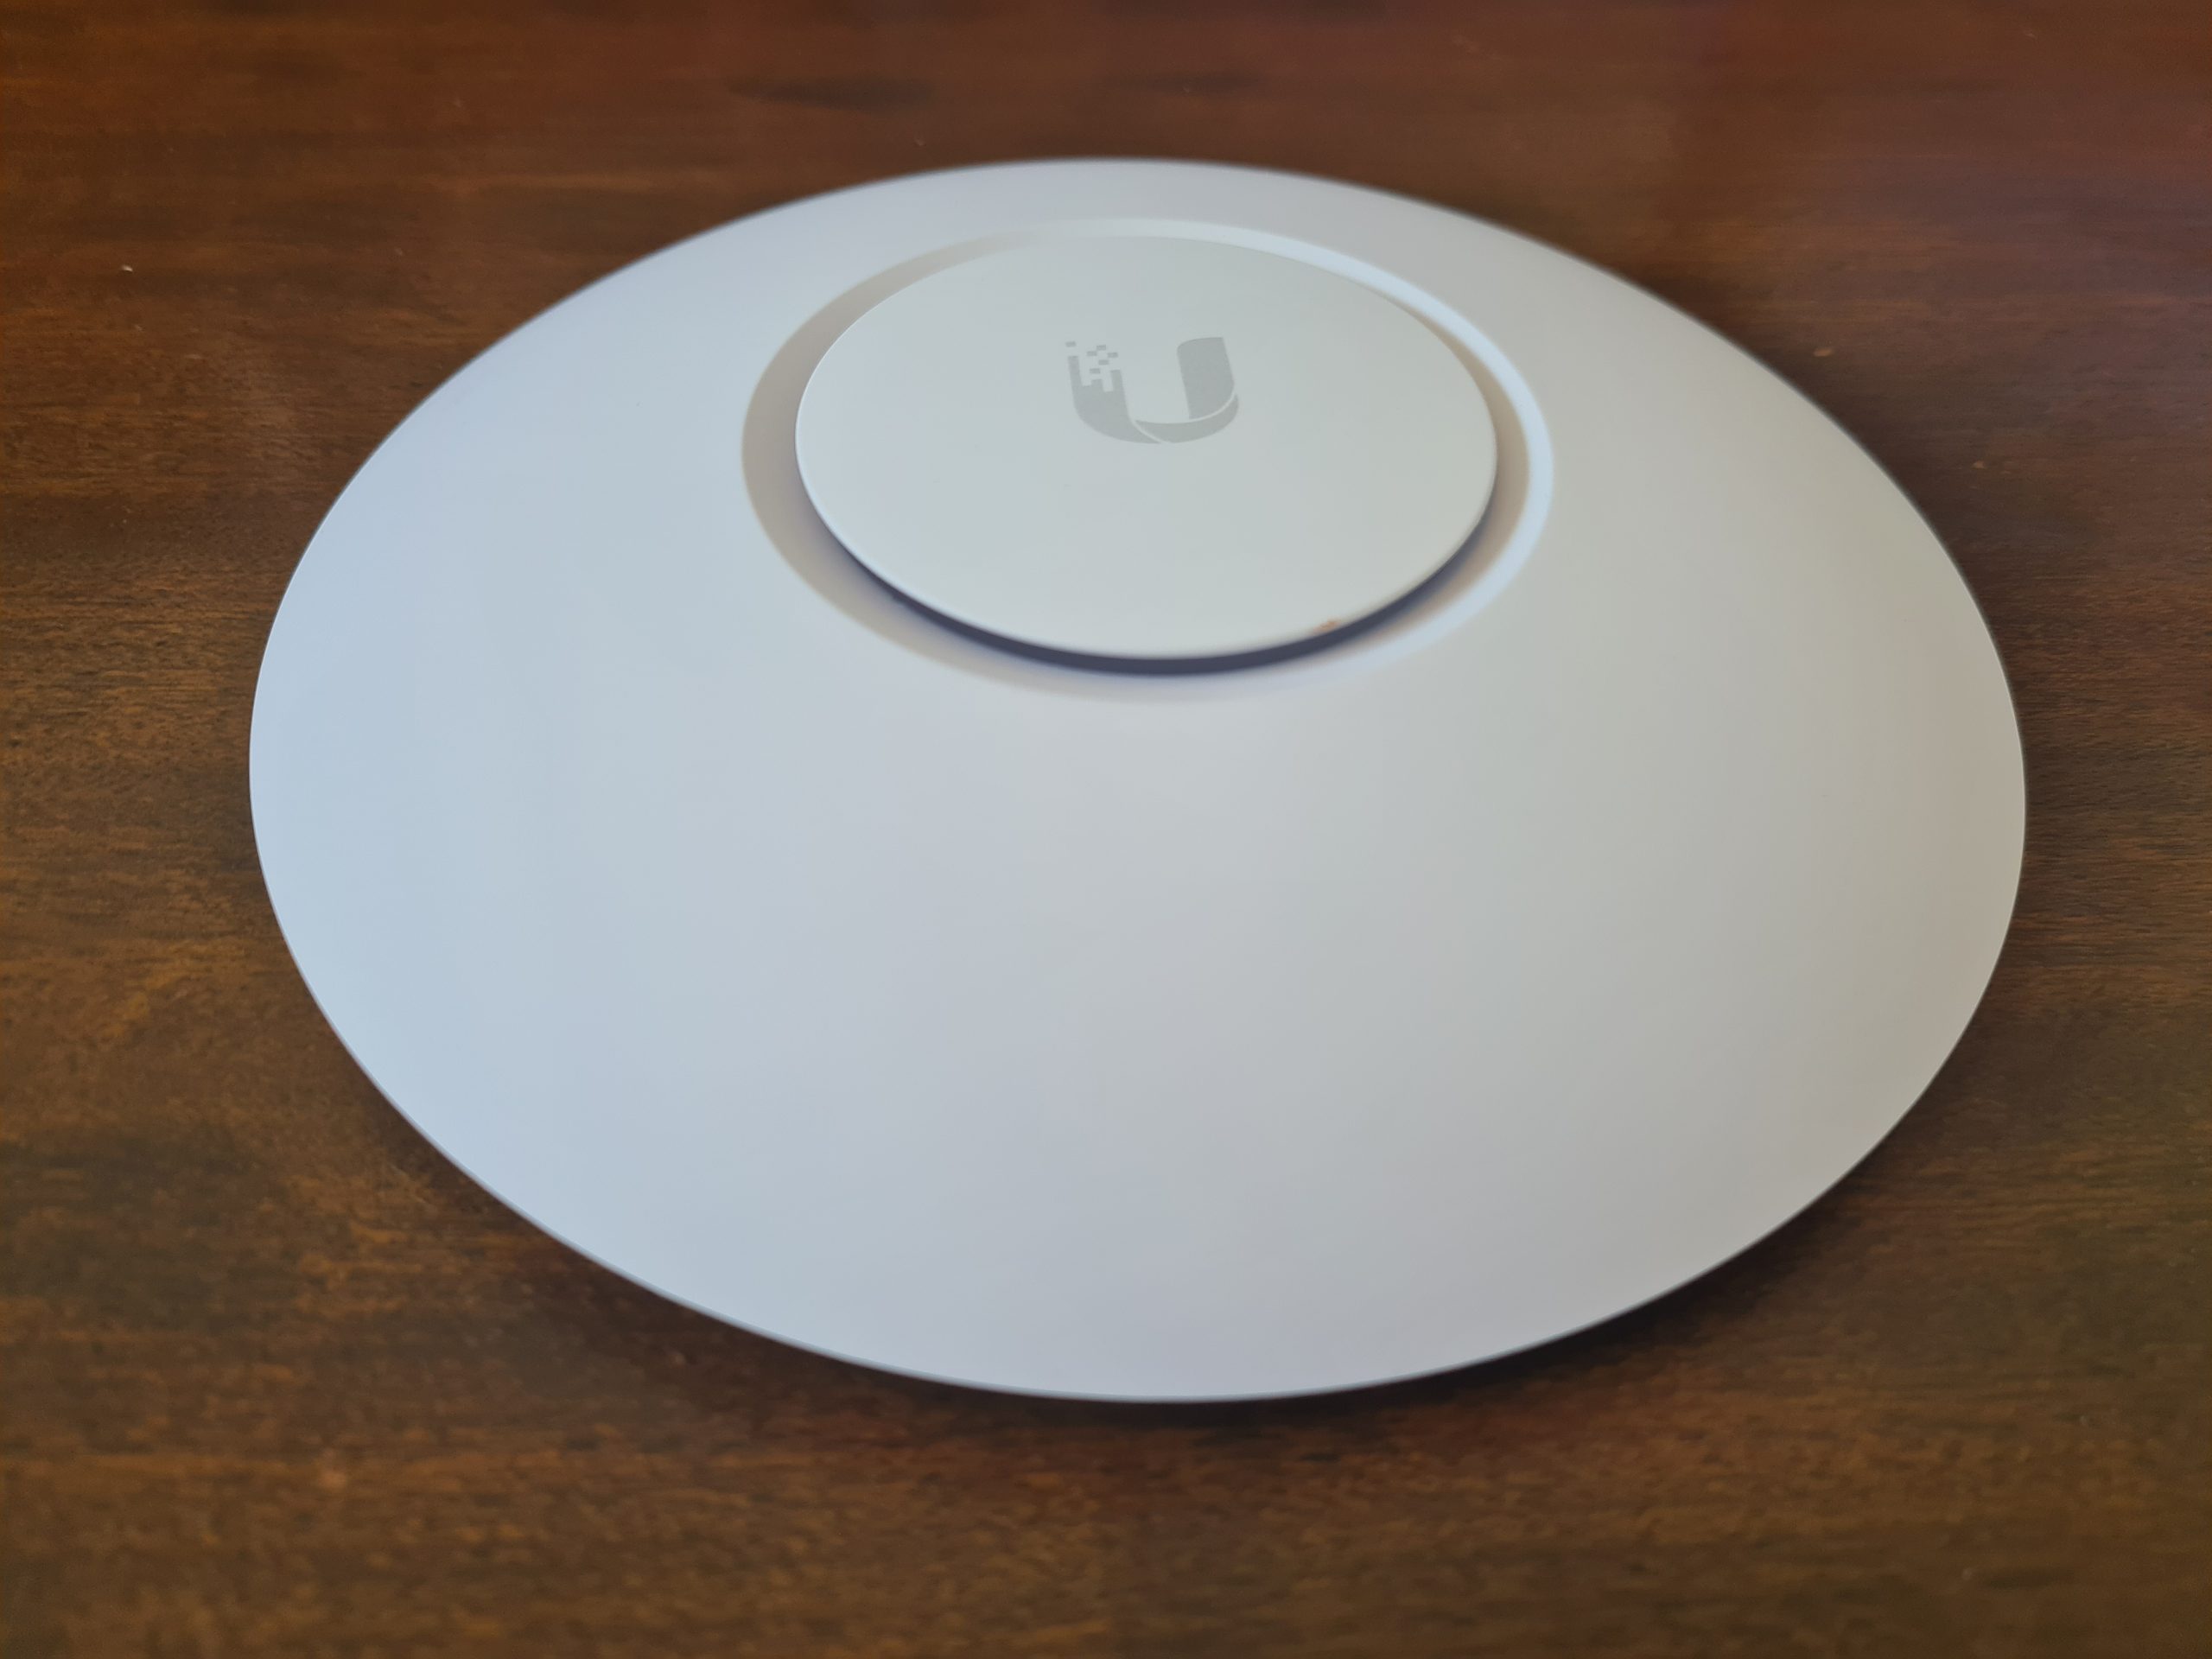
The device only has a single port and that is the RJ-45 port that allows you to connect the device to your network. And this is important as we briefly touched on earlier. This very much depends on if your network, or more importantly your managed switch, can support Power over Ethernet PoE technology or not. Depending on your answer to this question to yourself, you should be able to assess how this device is plugged into your network.
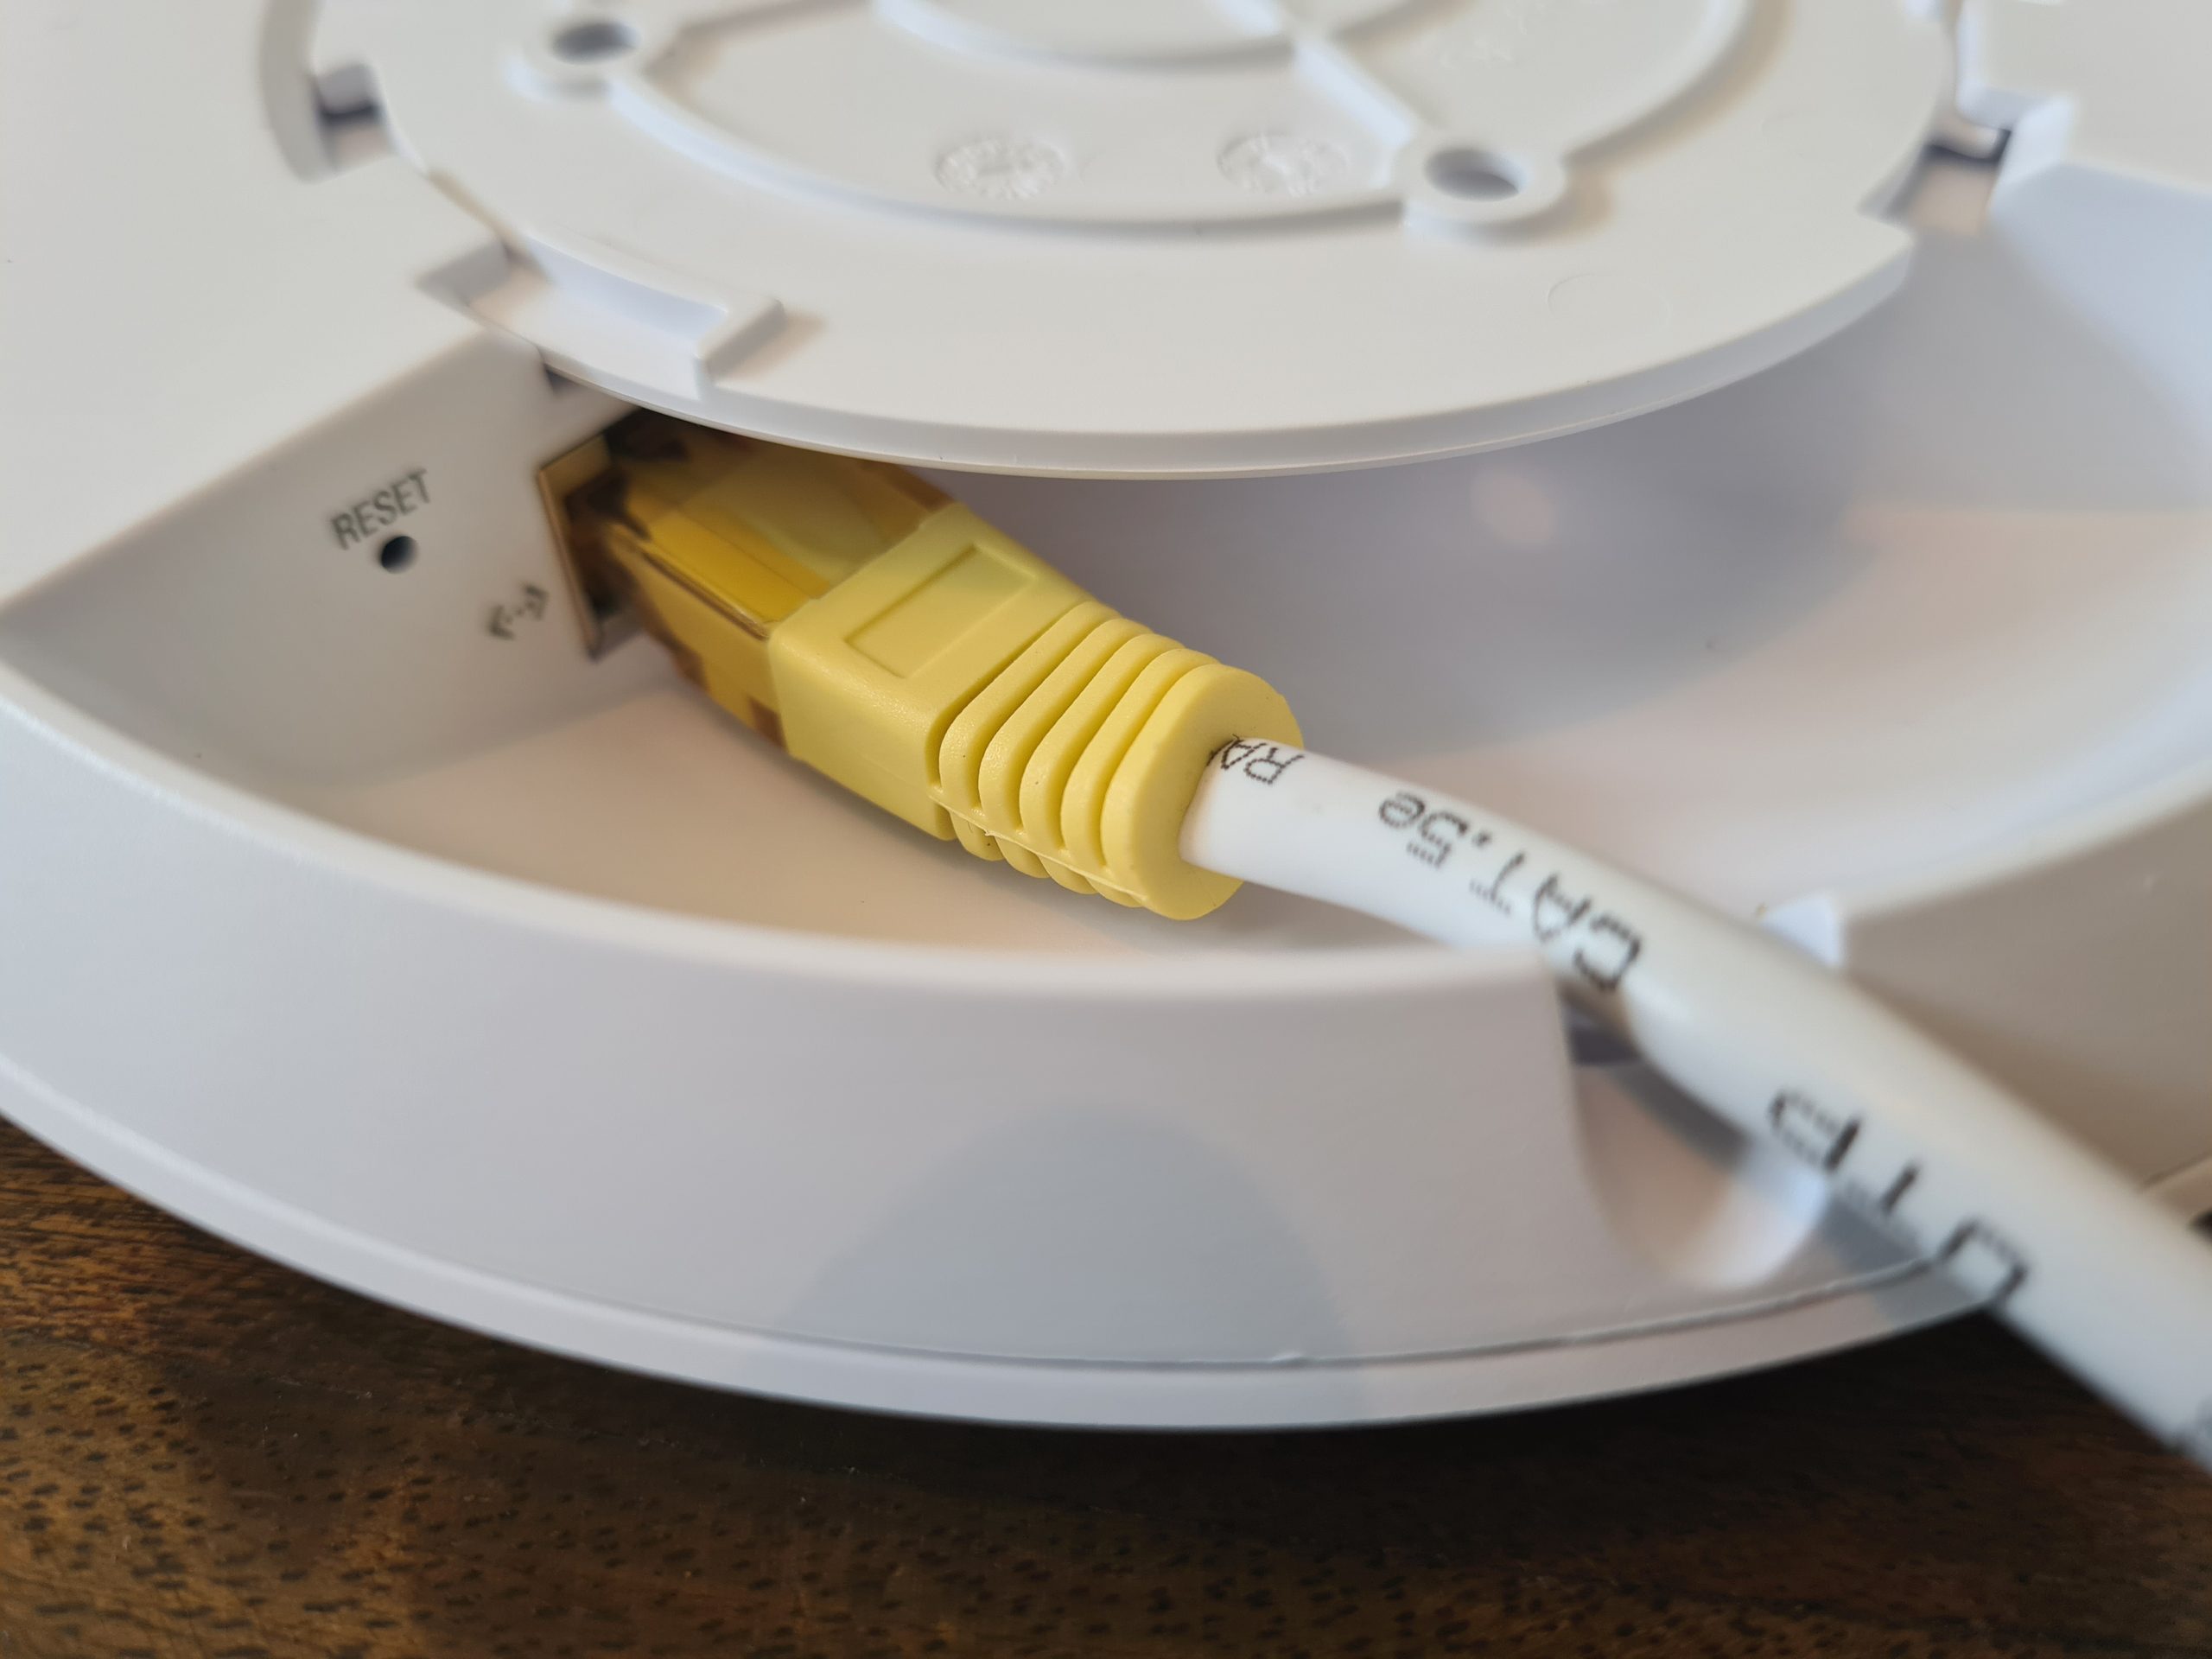
One handy feature is the small notch in the edge of the device that allows the ethernet cable to fit in the notch so the device can lay flat against your wall or ceiling.
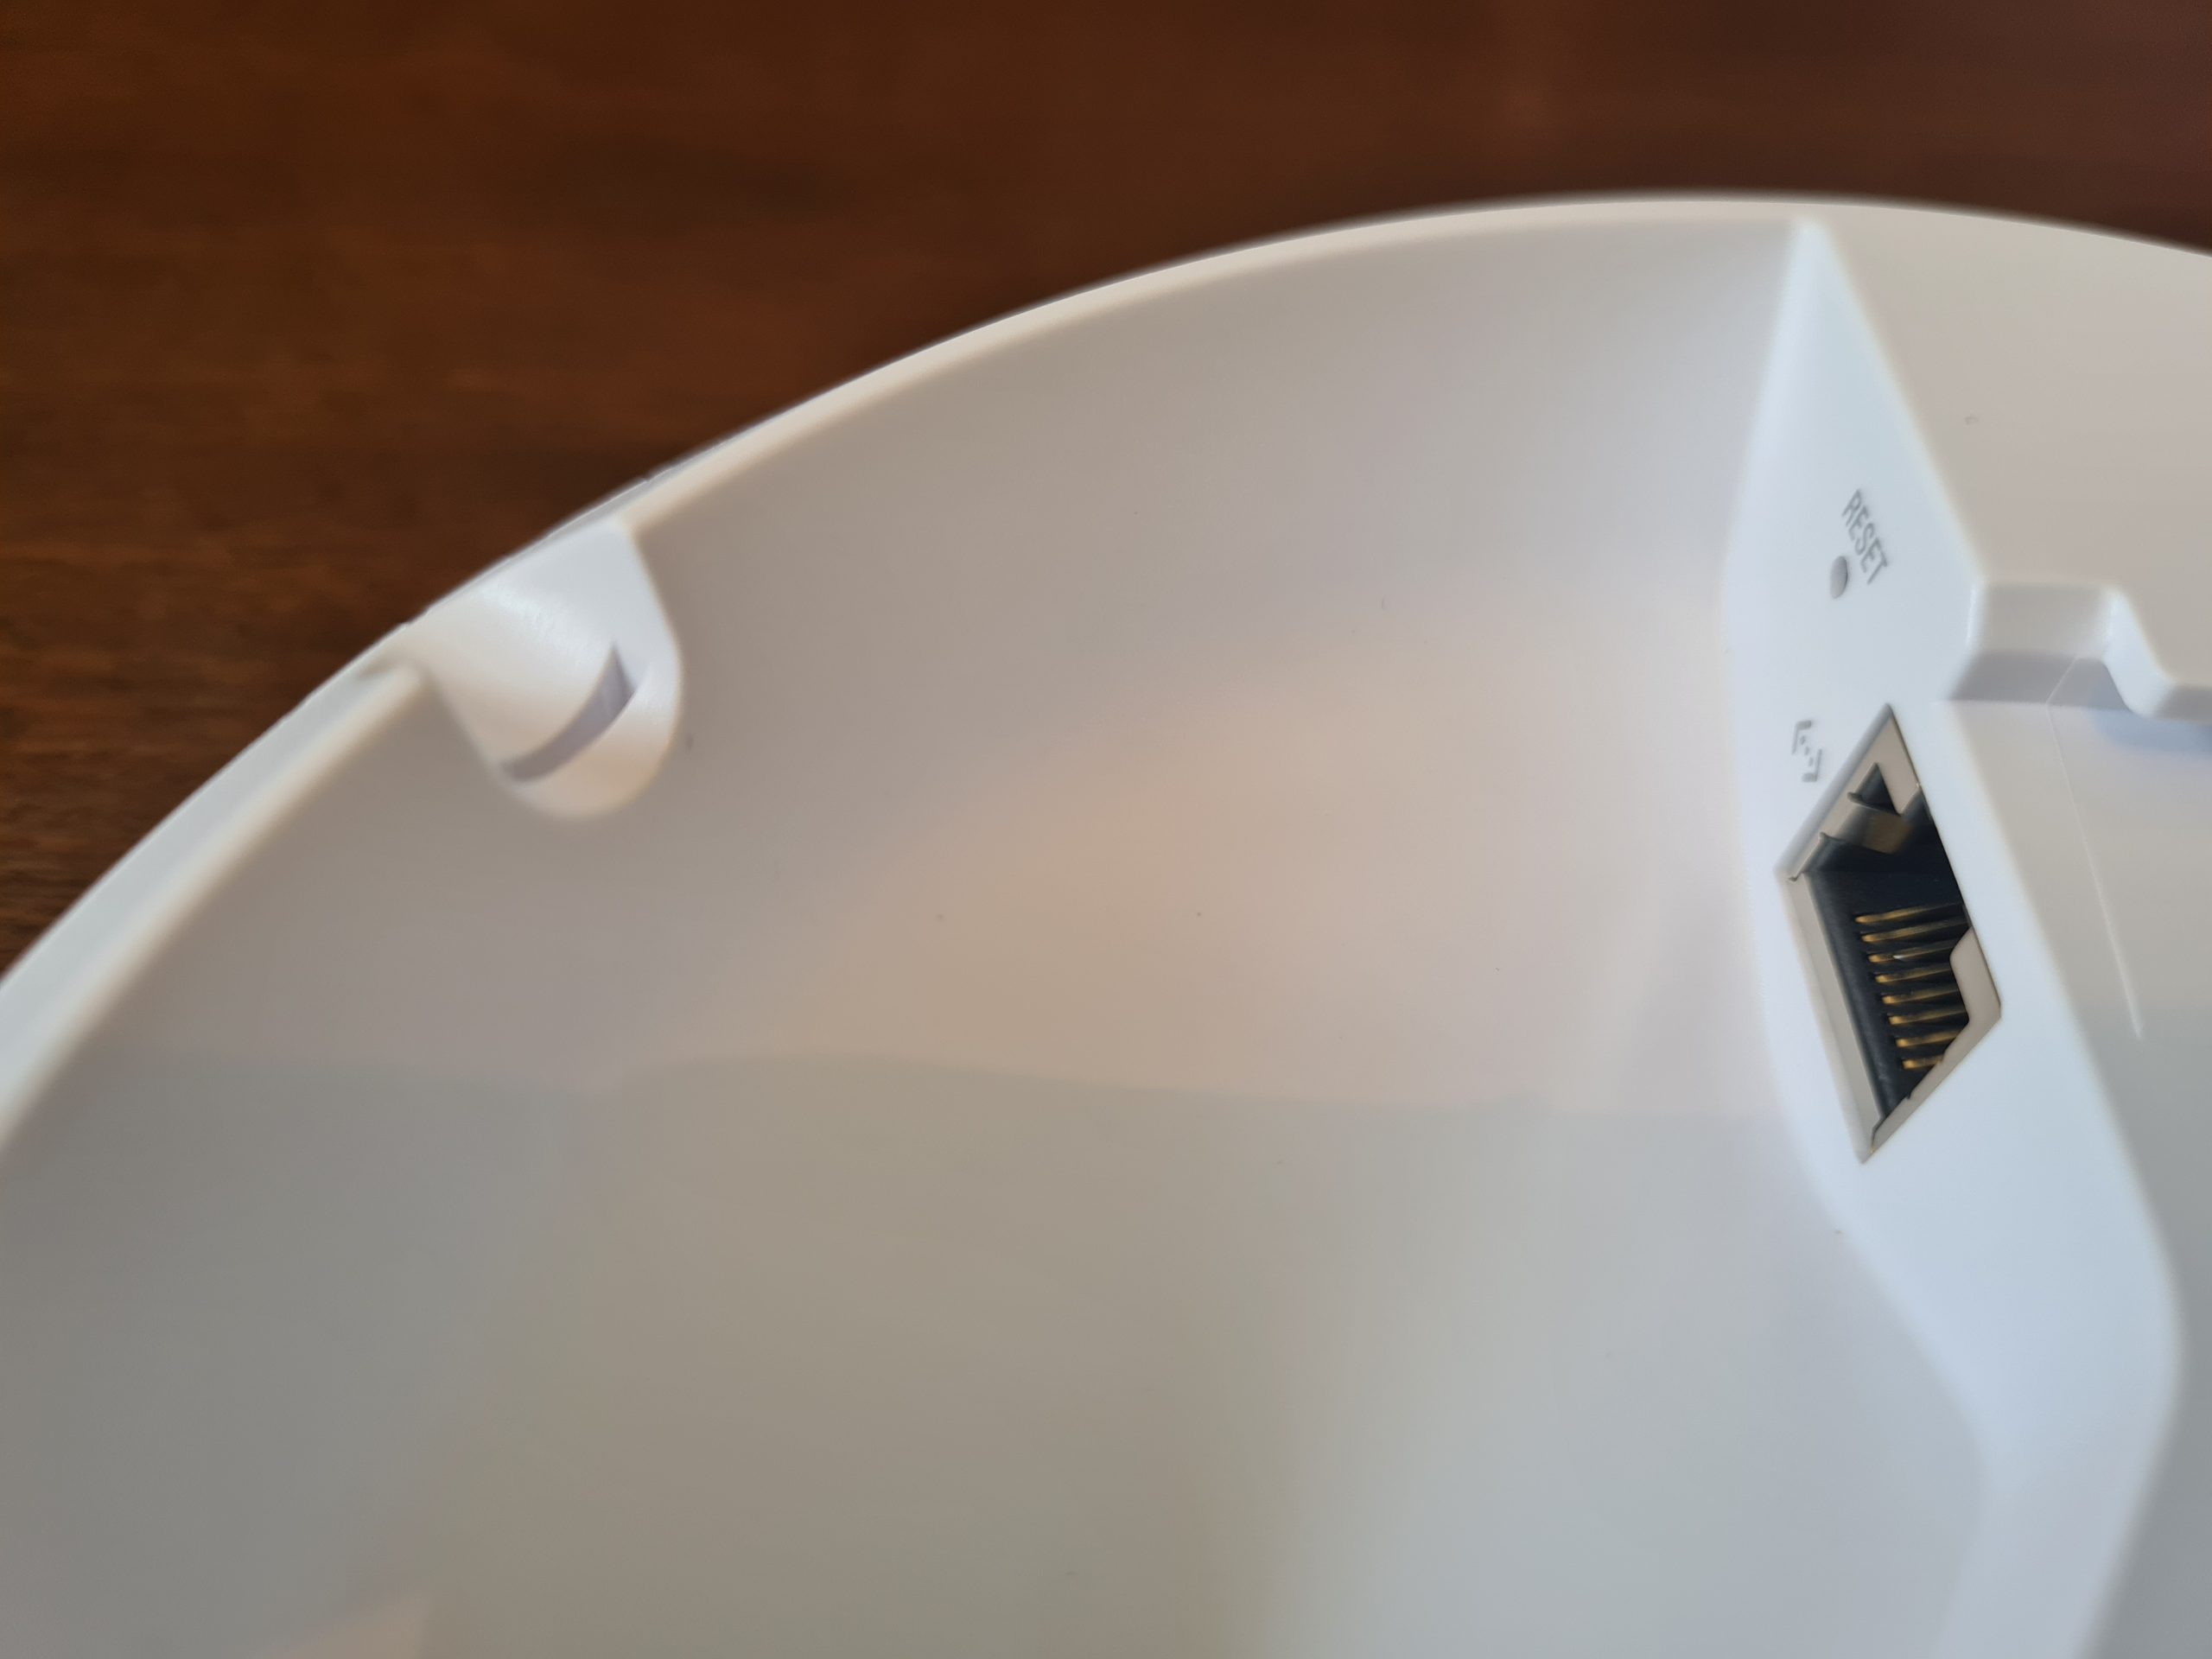

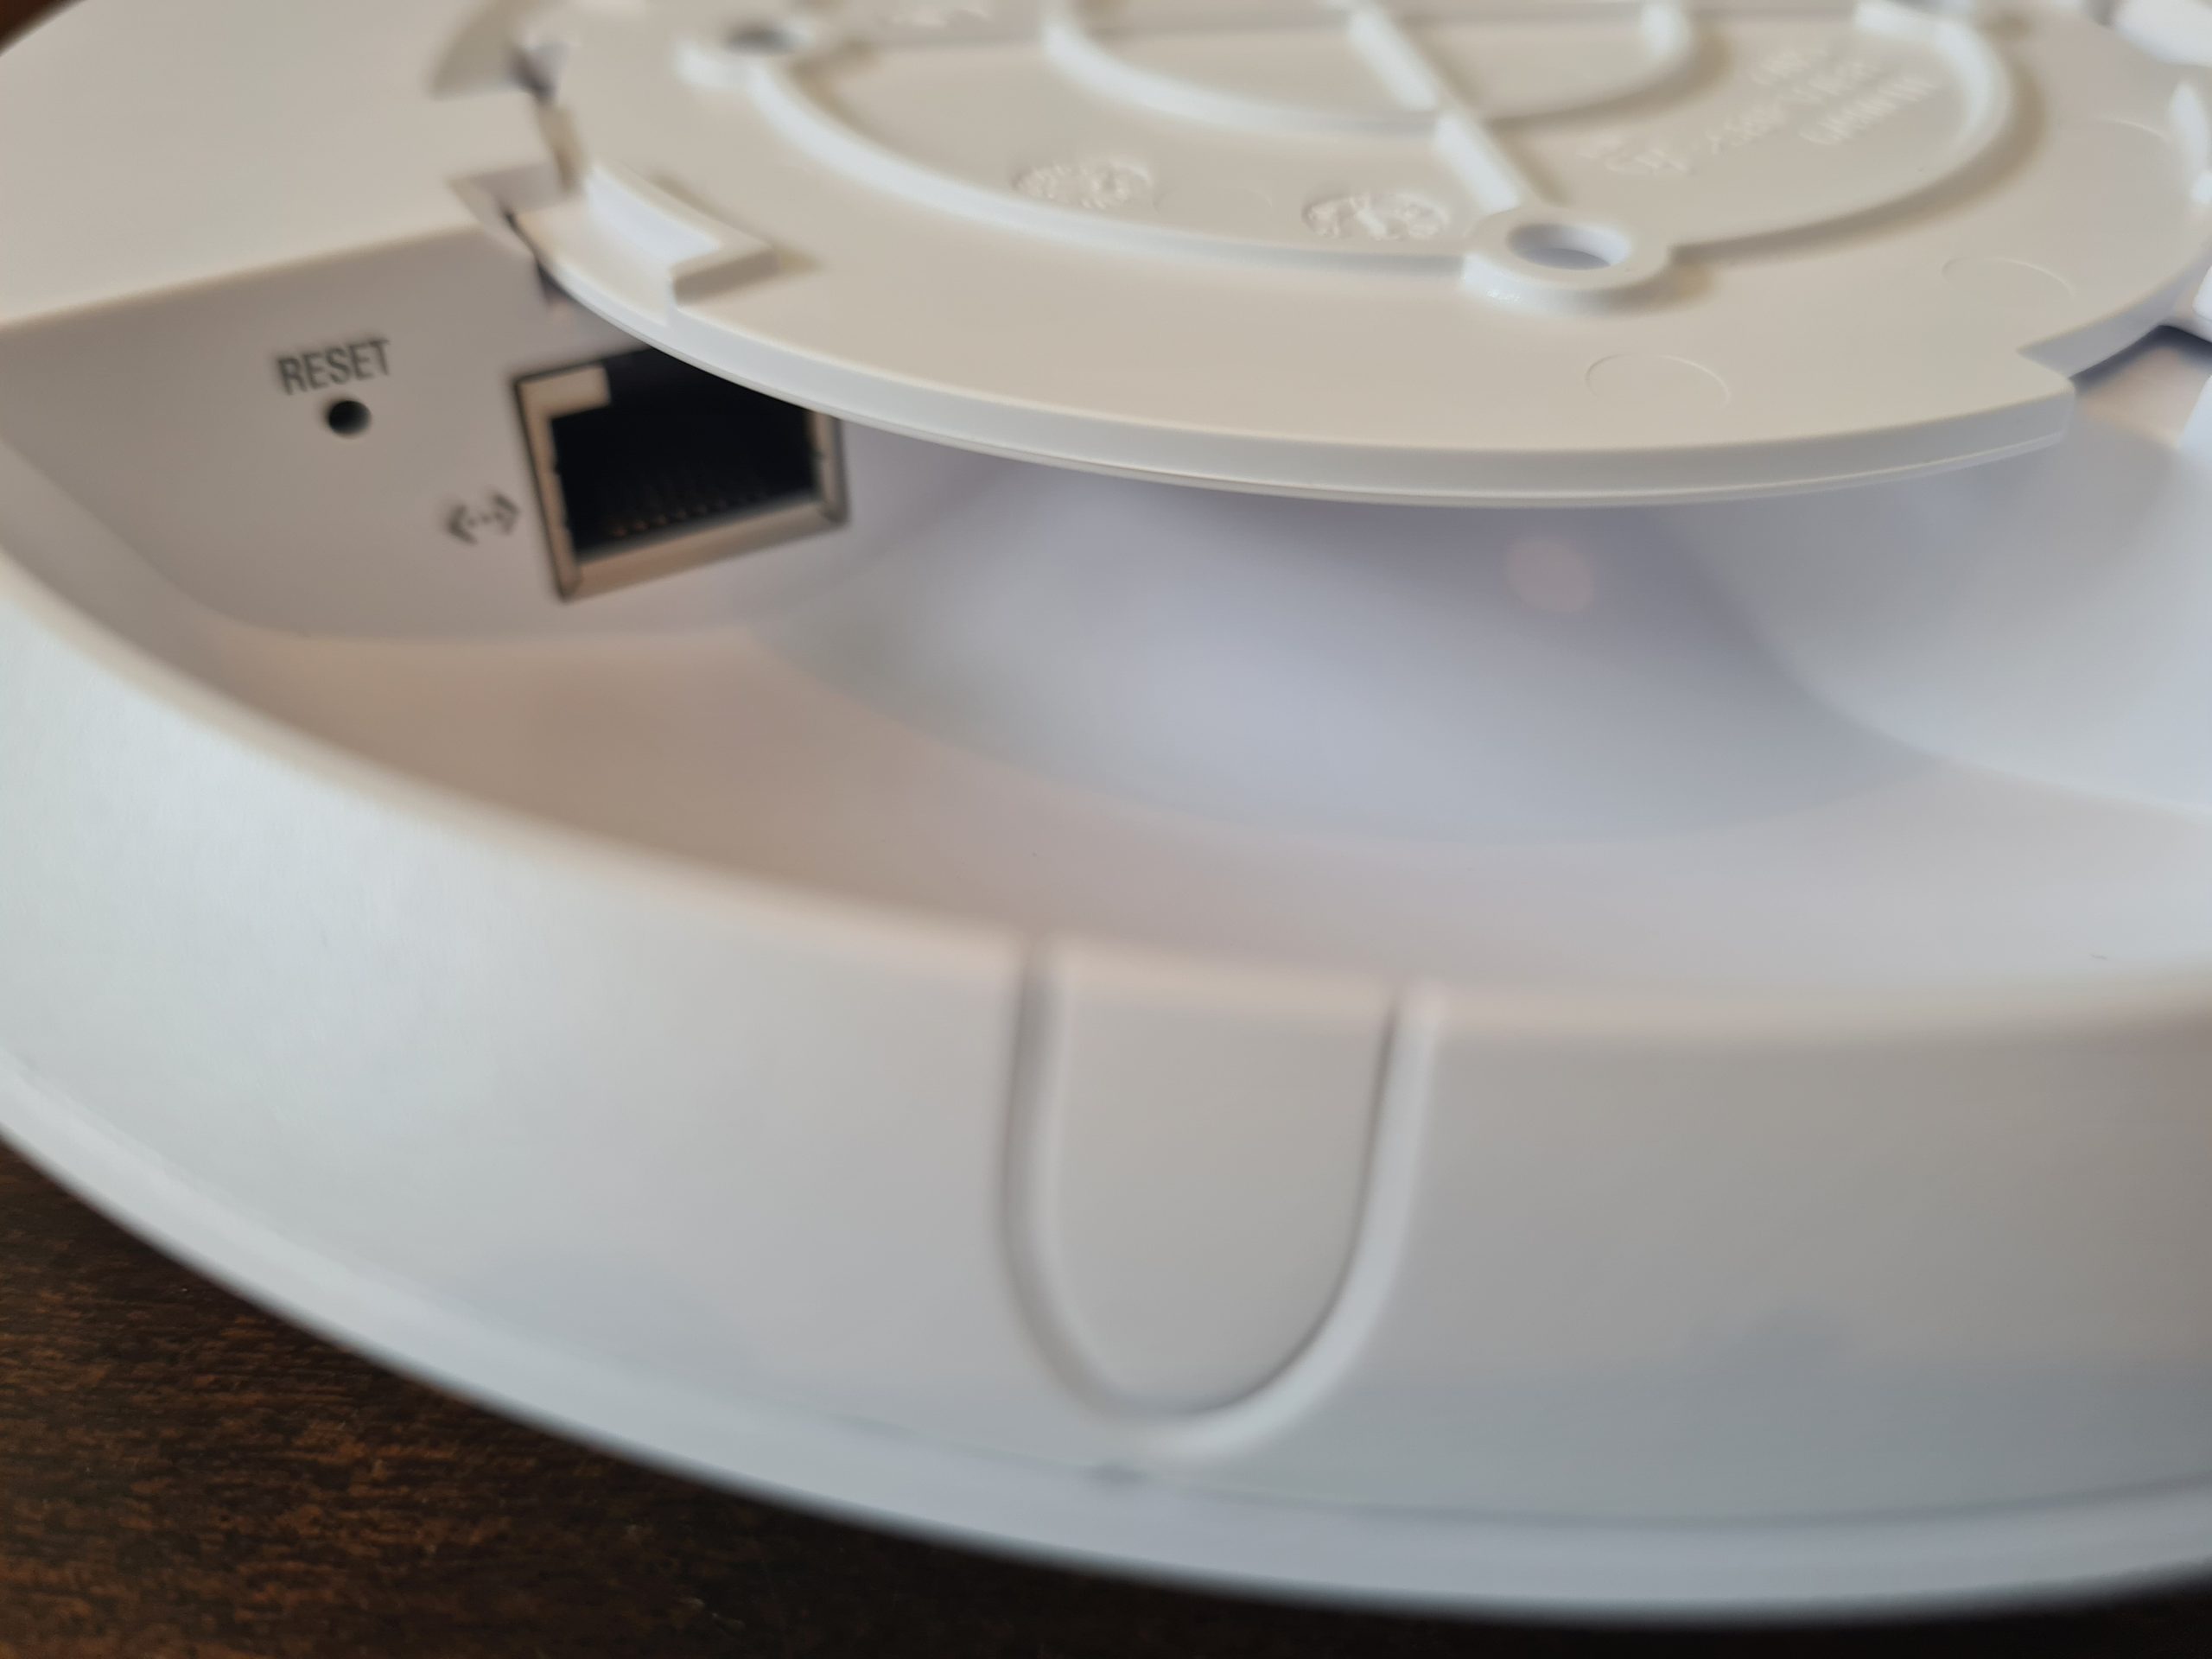
One item to note around how the inner disk connects to the main device is that once it is in place, it’s very tight to remove. When you are removing this when it isn’t wall mounted, this isn’t really an issue as you can easily get a small screwdriver or knife to unclip it. But you’ll notice that once this is connected to the wall or ceiling, you’ve only got a really tiny gap to get something in that is about 2mm tall, 5mm wide, and about 1cm deep – so you’ll probably need something like a paperclip to unhinge this once it’s connected to the wall.
Below you’ll see the Power over Ethernet (PoE) device.
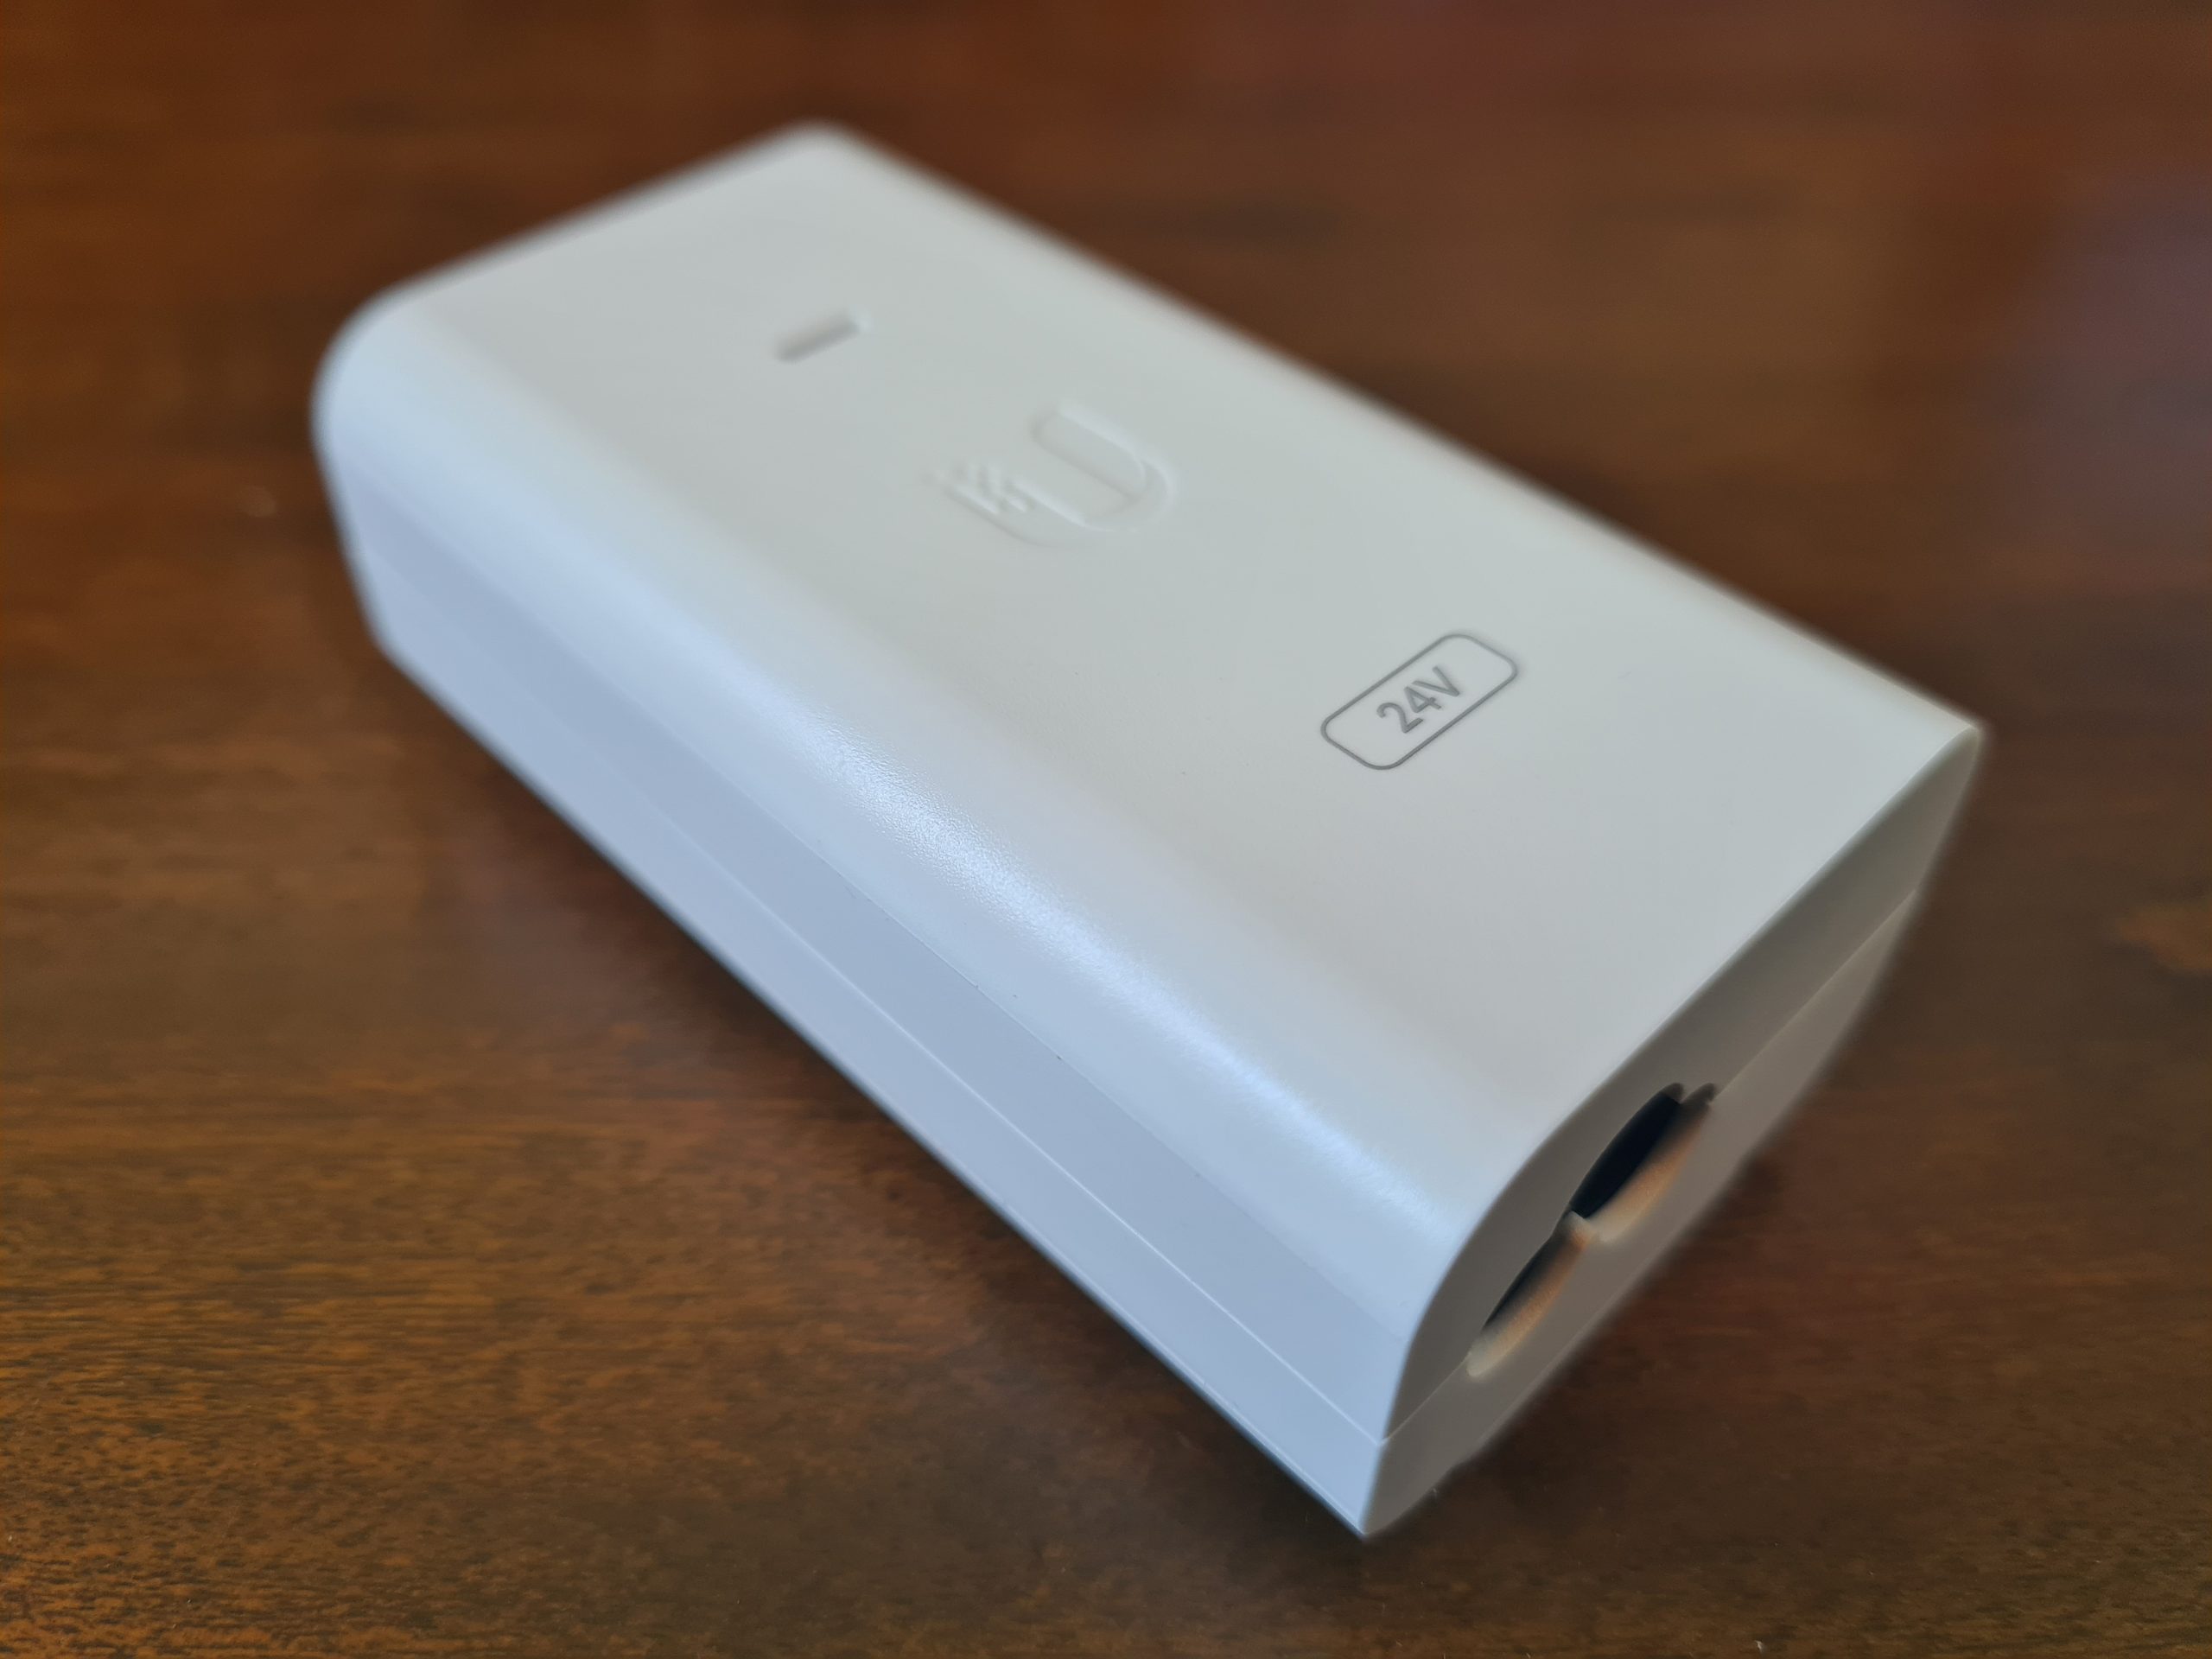
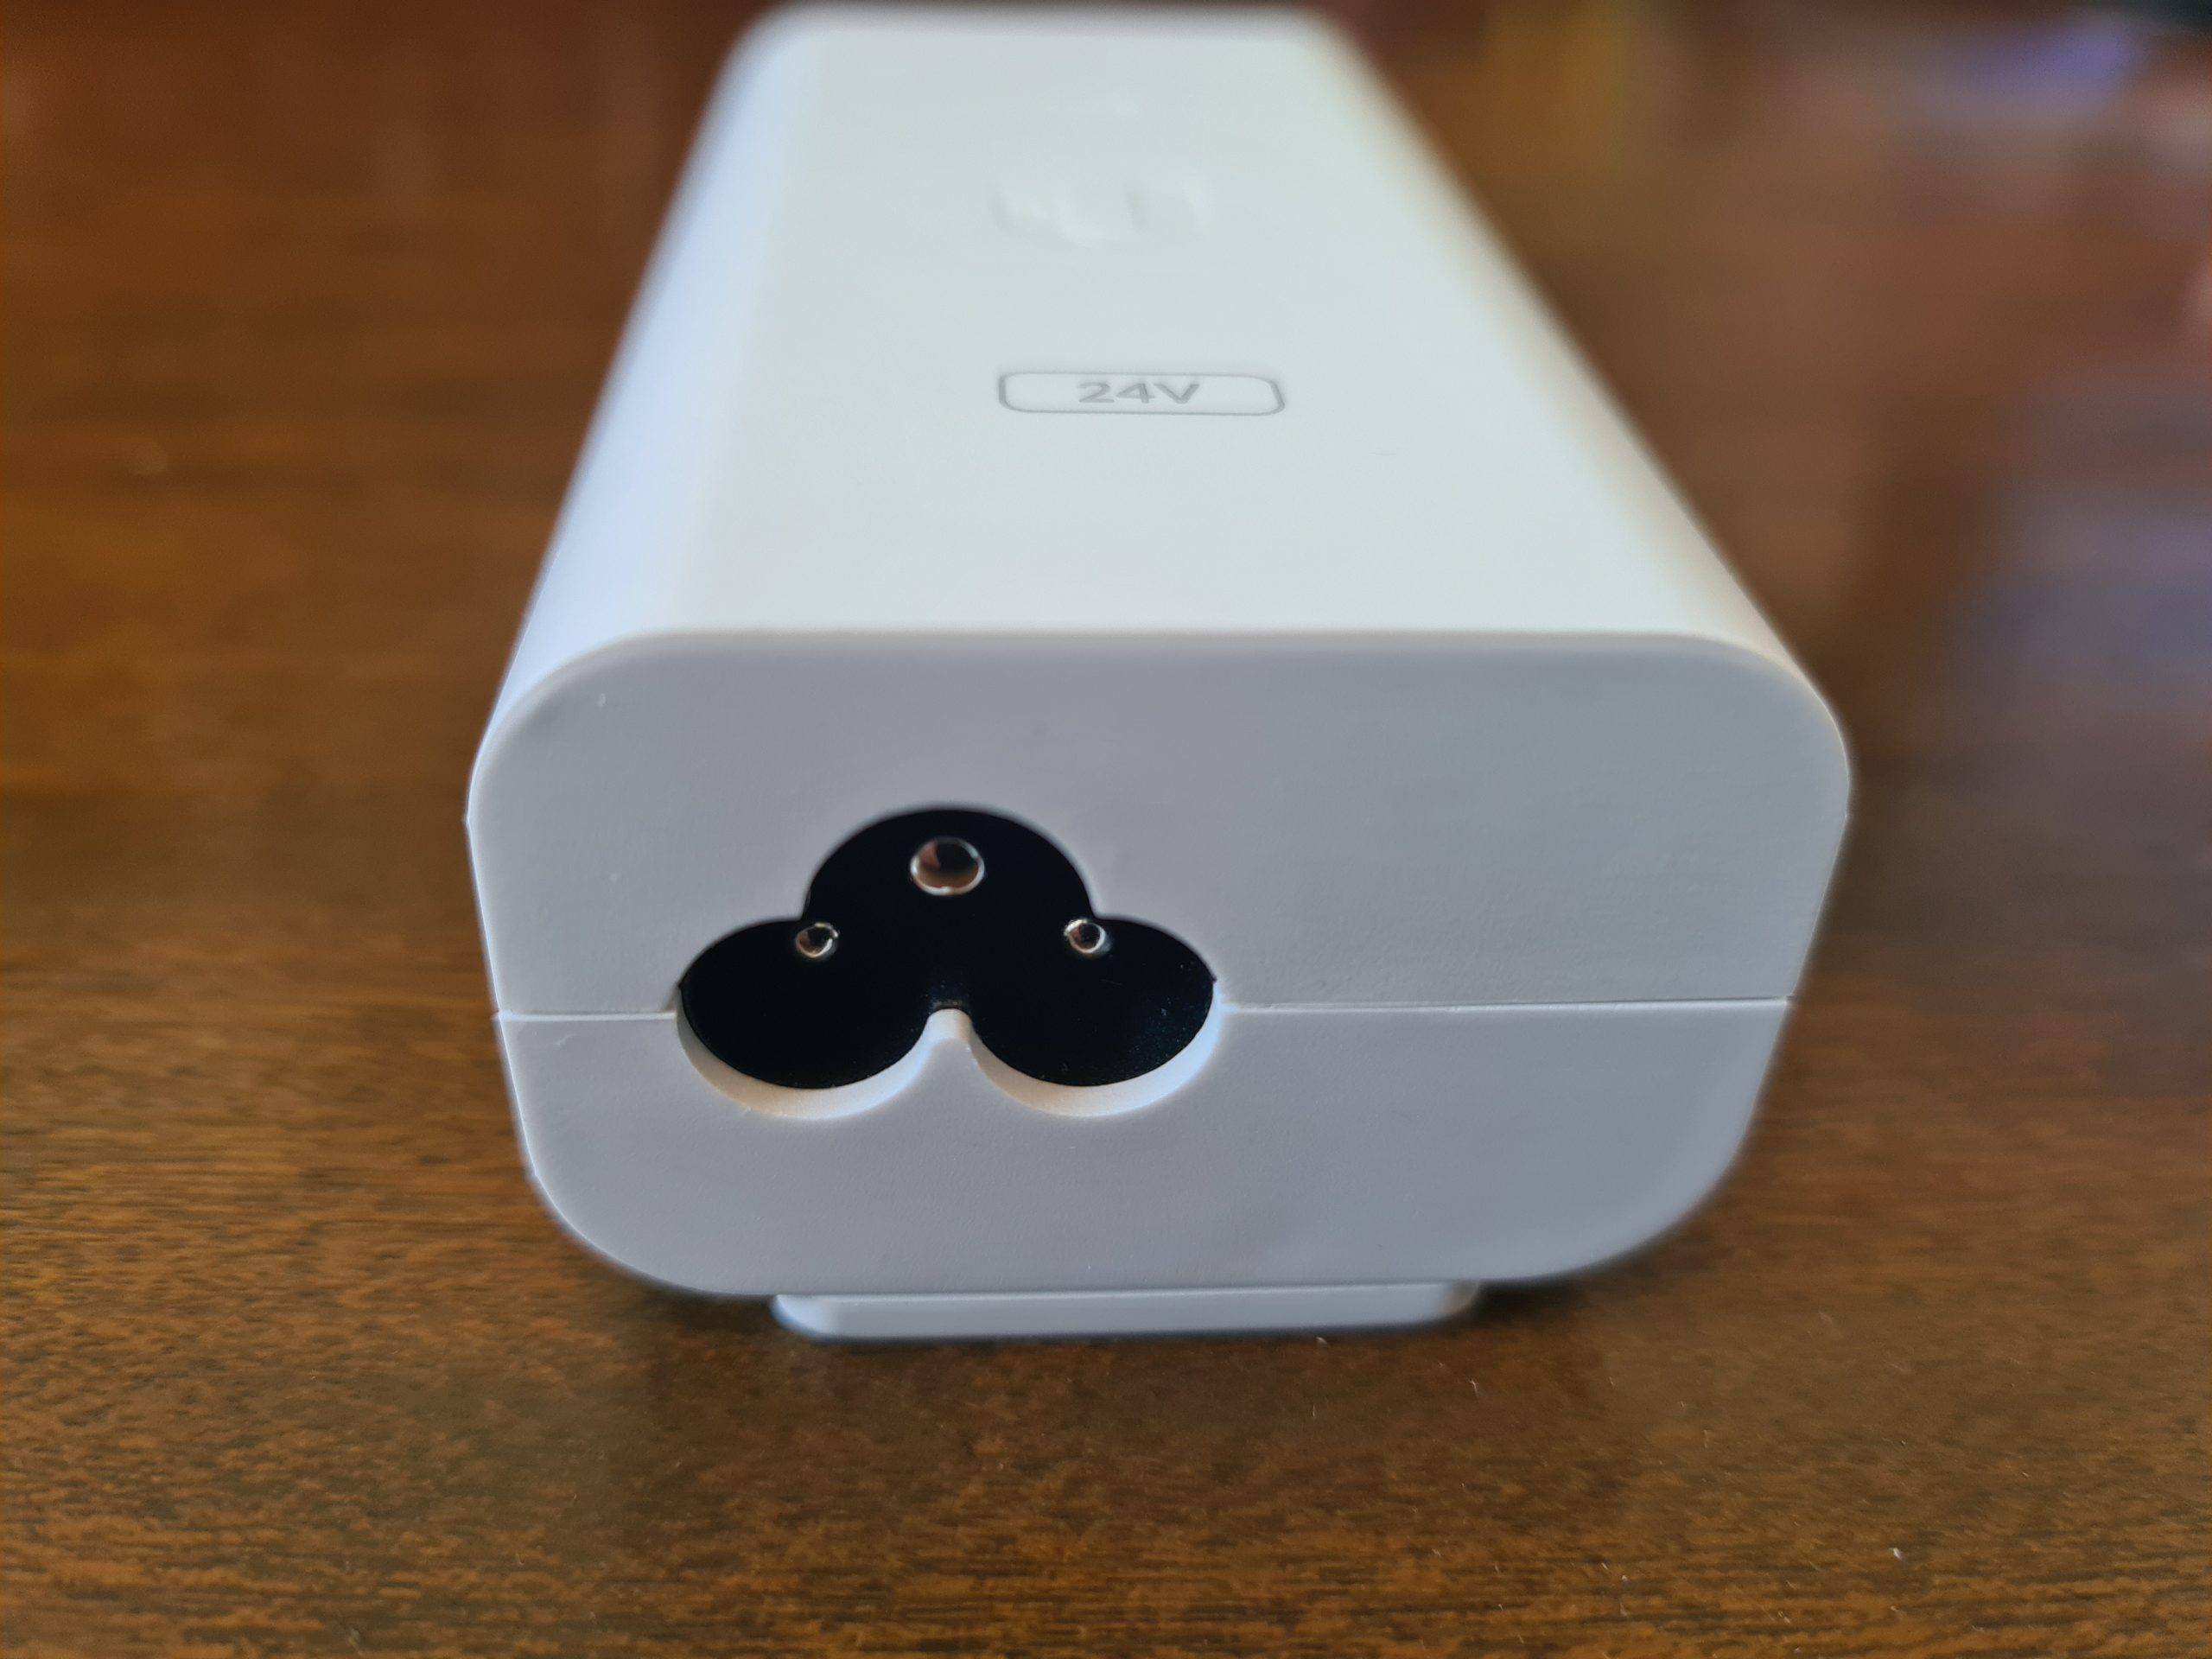
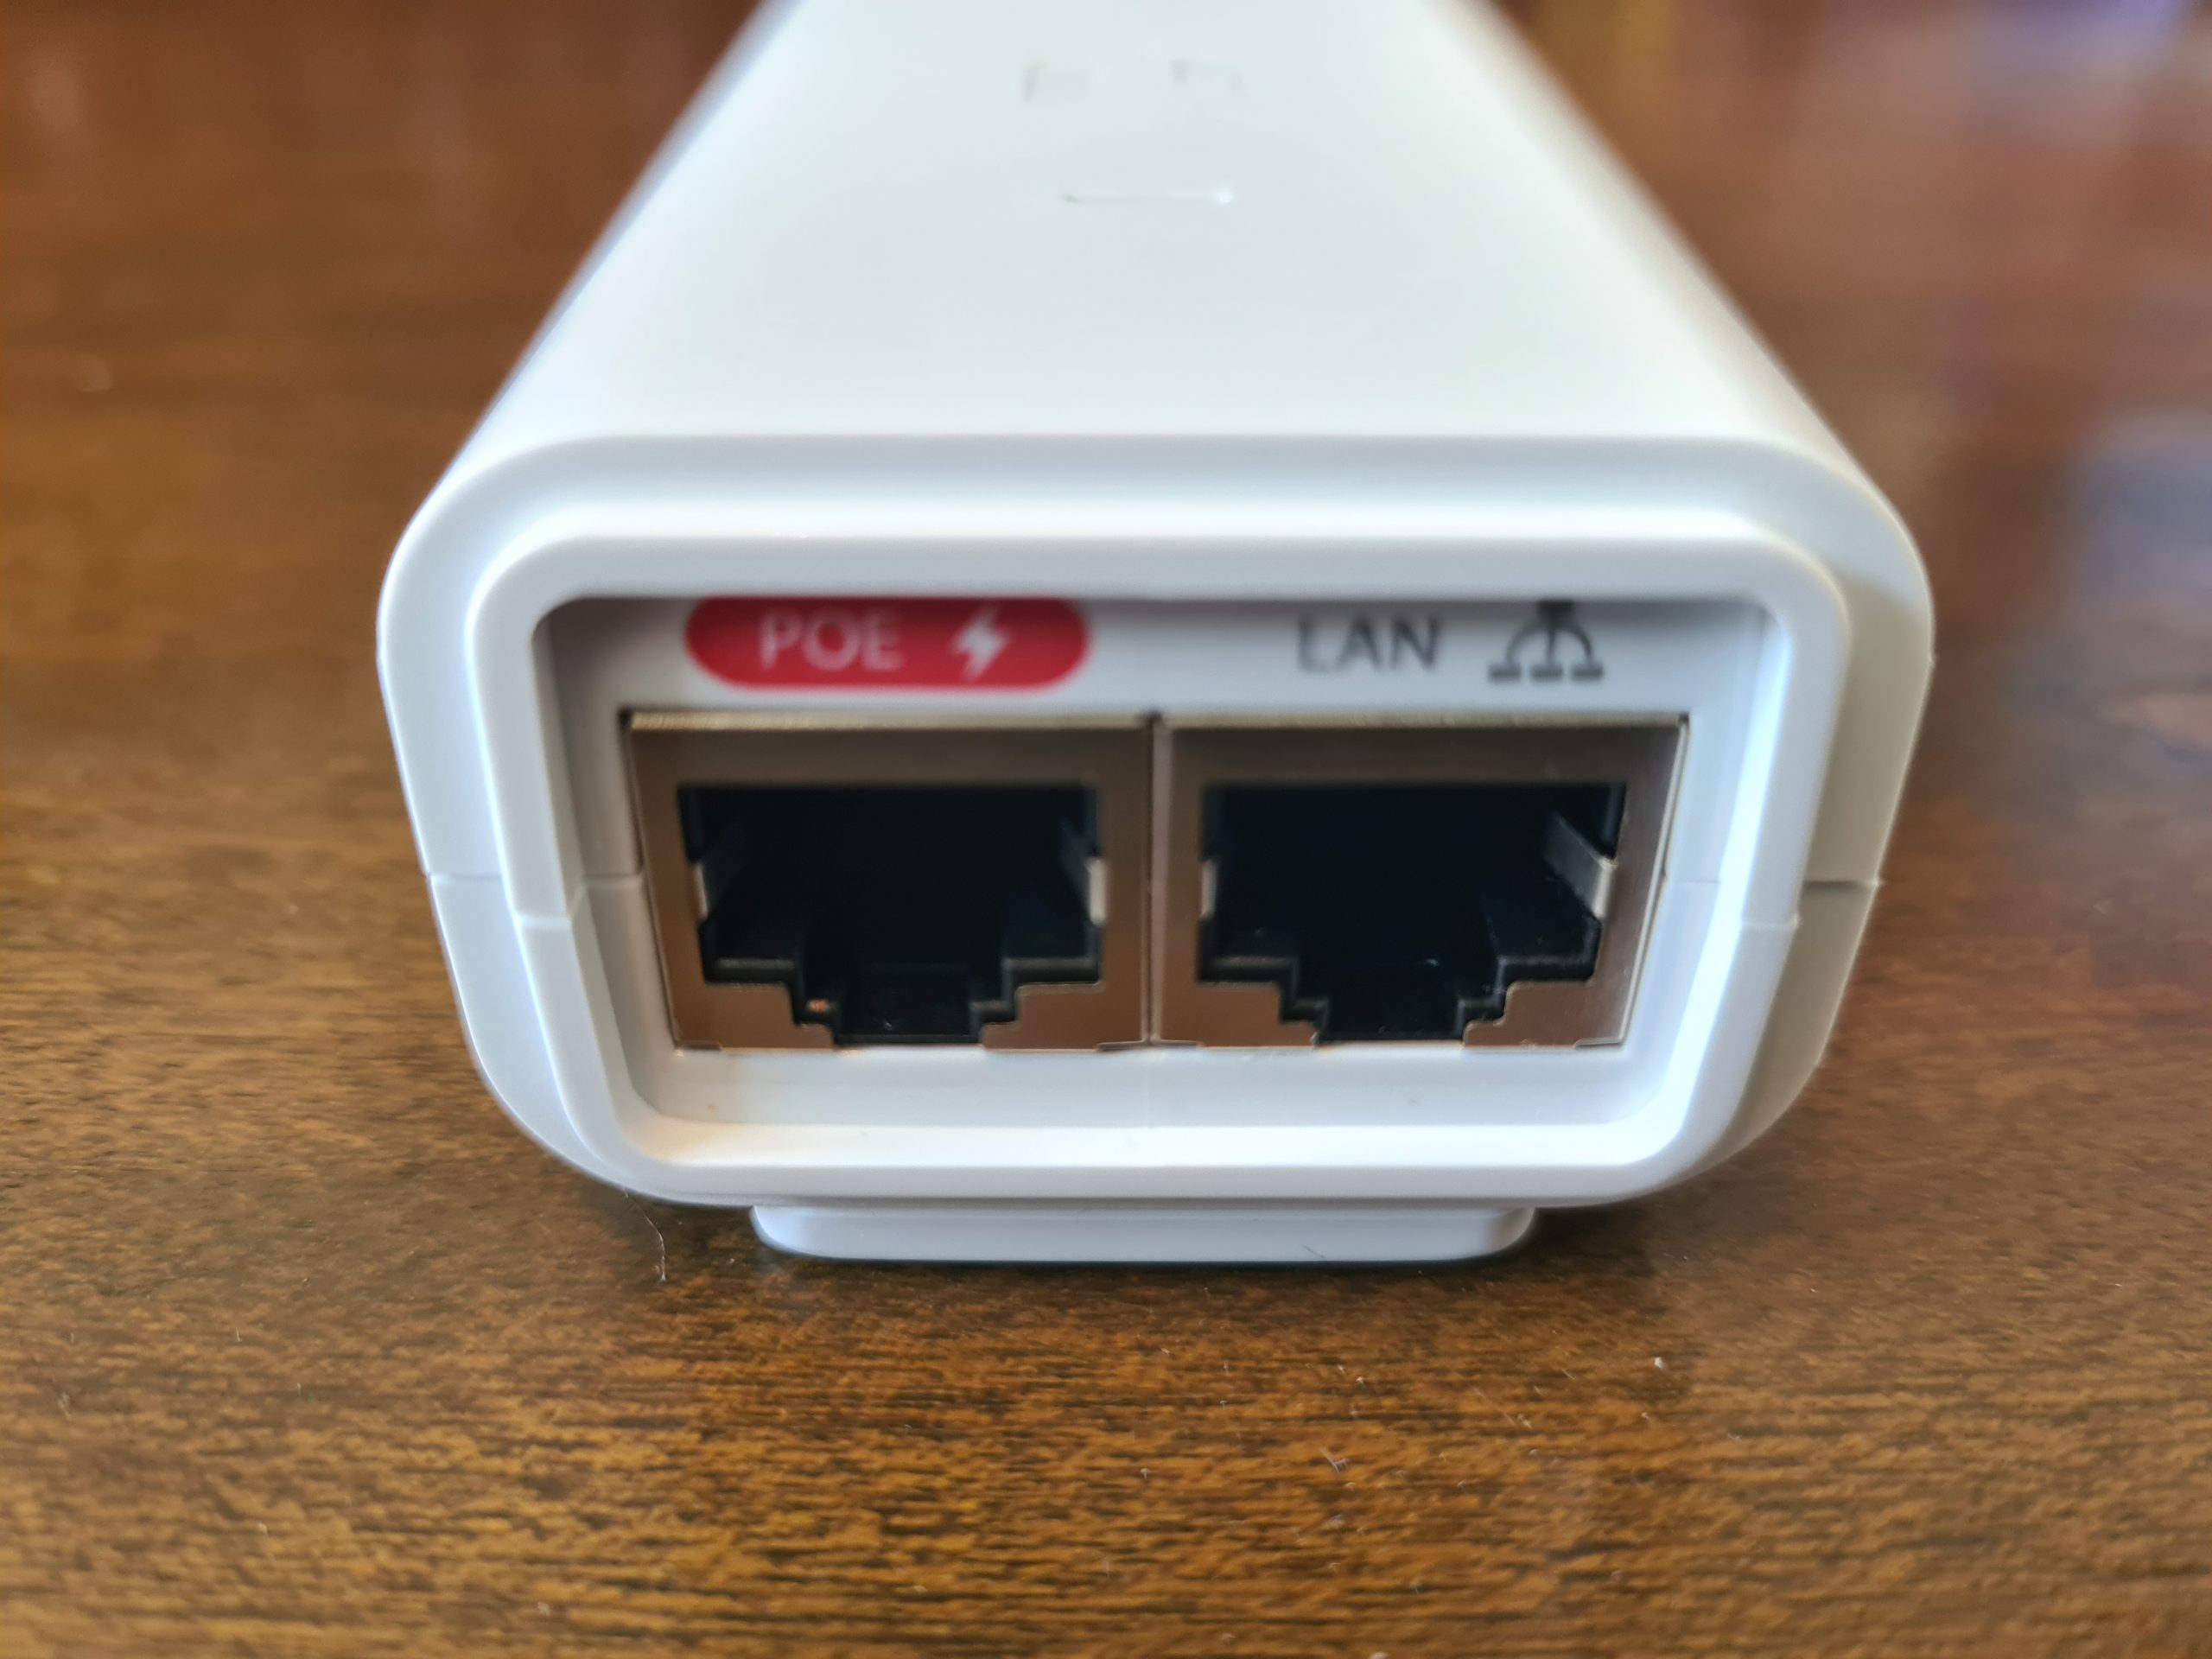
For connecting your PoE device to your UniFi AP-AC-Lite wireless access point, you’ll need to make sure you plug the ethernet cable into the PoE port on the left as that one contains power. The LAN port is where you plug in your ethernet cable that connects to your switch or router or firewall. If you have a managed switch with PoE ports, then you don’t even need to use this device unless you’re running our of power availability. But it’s nice that they have this as an option straight out of the box for you.
Another USA power lead going onto eBay…. 🙂
Ok, so that’s all the contents of the box for your new UniFi AP-AC-Lite wireless access point.
Statistics and Data from UniFi AP-AC-Lite Wireless Access Point via UniFi Controller
For completeness, let’s look at some of the handy bits of data that you can see within your UniFi Controller software against your wireless access point once you’ve got it plugged in and configured.
WiFi Traffic Distribution Statistics

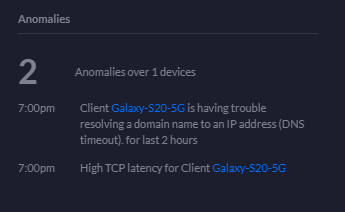
Anomalies Statistics
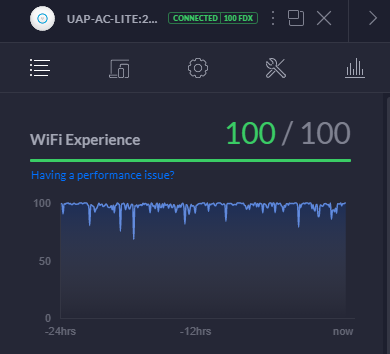
WiFi Experience Statistics
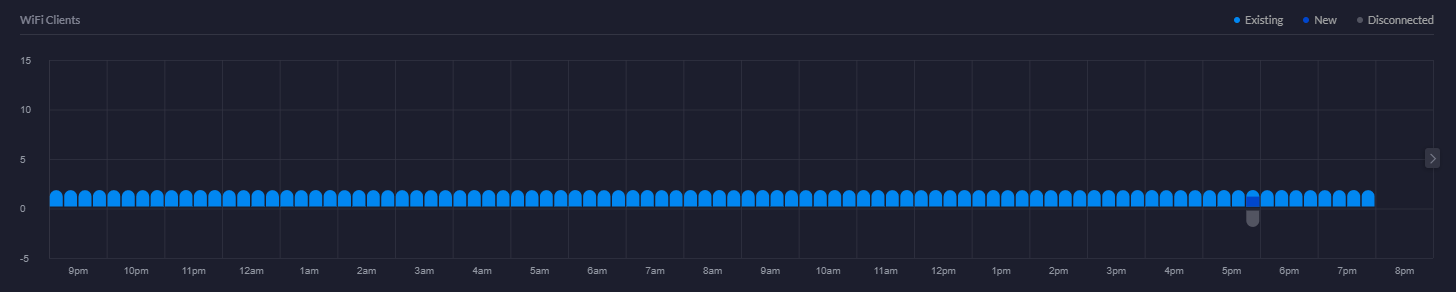
WiFi Clients Chart
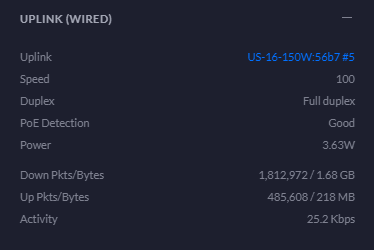
Uplink Statistics
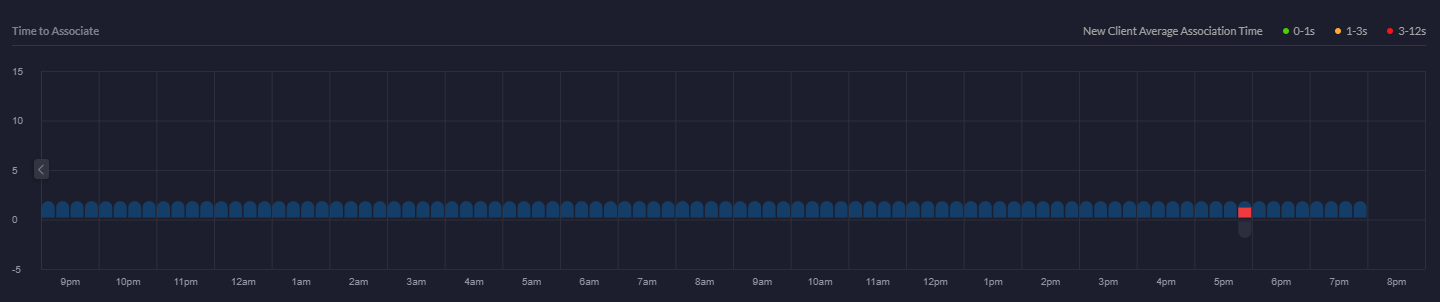
Time to Associate Graph
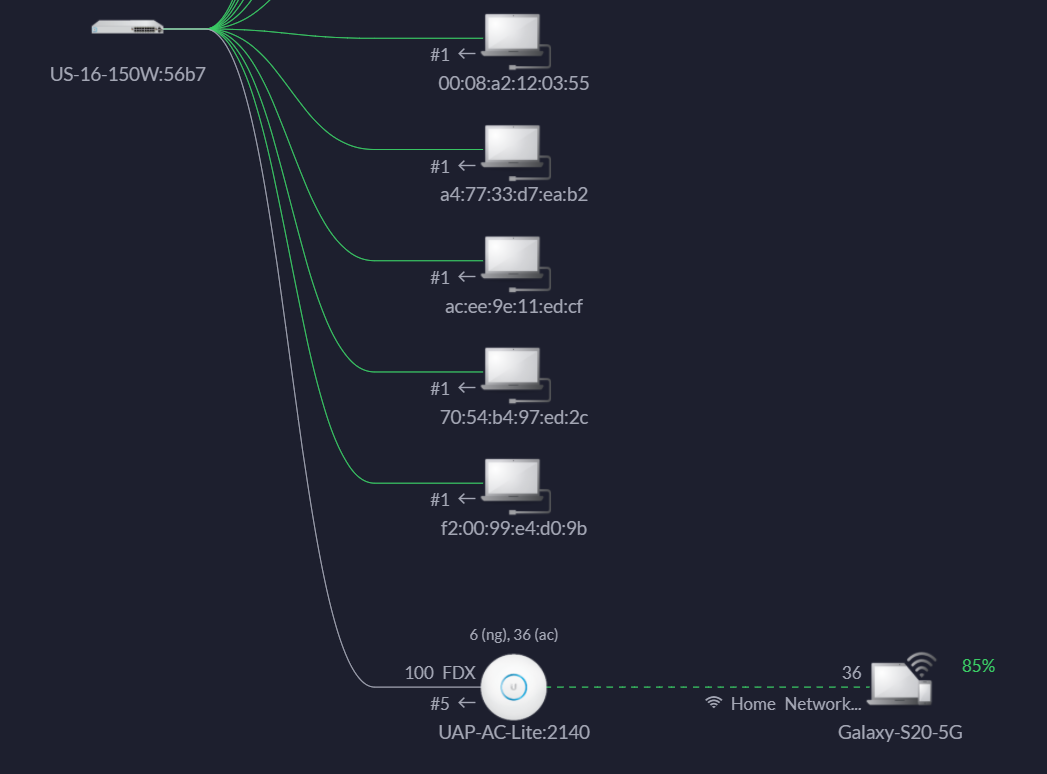
Showing Devices Connected to wireless access point
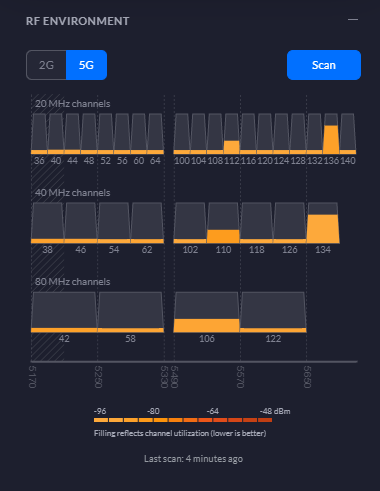
RF Environment 5G Statistics
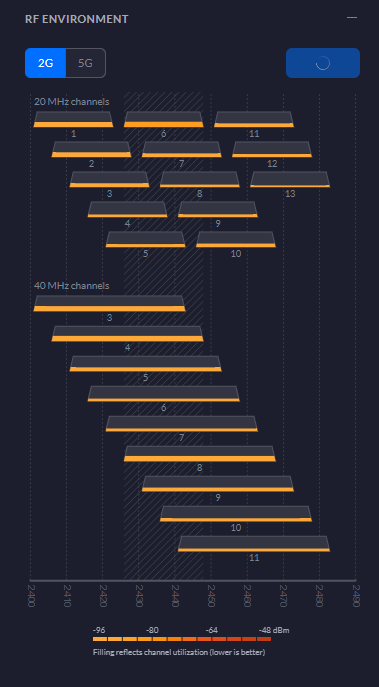
RF Environment 2G Statistics
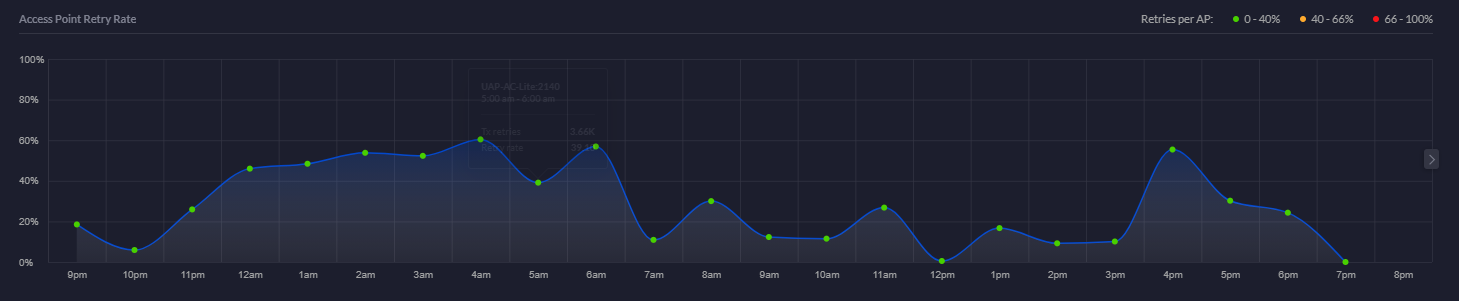
Access Point Retry Rate Chart
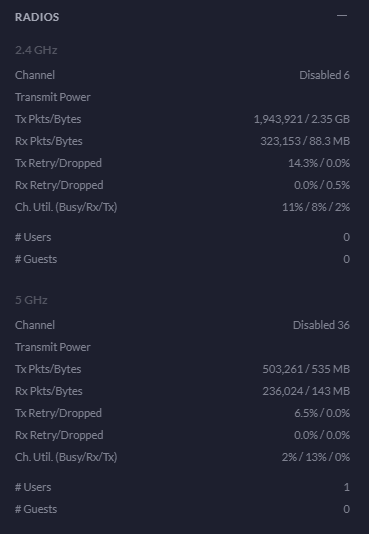
Radios Statistics
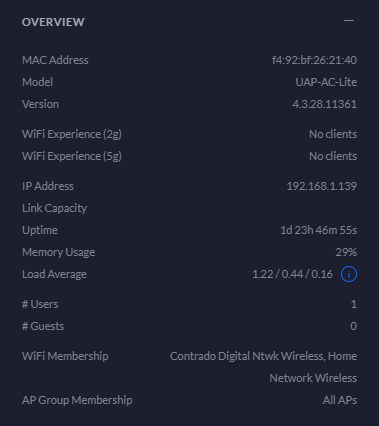
Overview Statistics
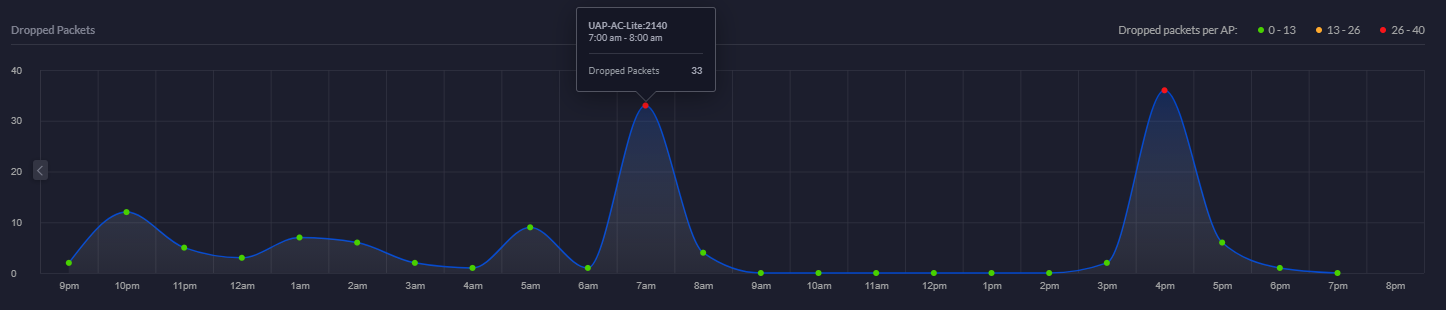
Dropped Packets Chart
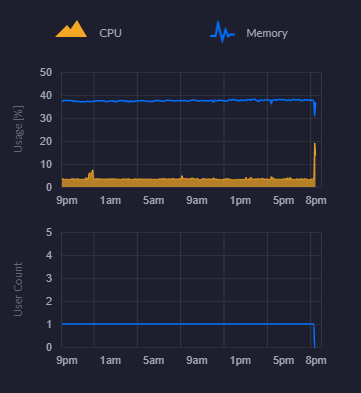
CPU and Memory Usage Chart
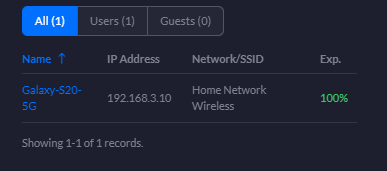
Connected Clients Statistics
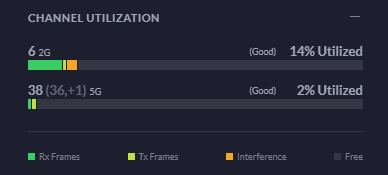
Channel Utilisation Statistics
This is a really handy piece of information from a planning perspective. You can easily use this information to plan your capacity based on real world usage. As you start to reach the higher limits of the hardware, it’s time to start planning an upgrade to hardware that is better suited to larger numbers of users. For context, the chart below is with a single mobile device connected.
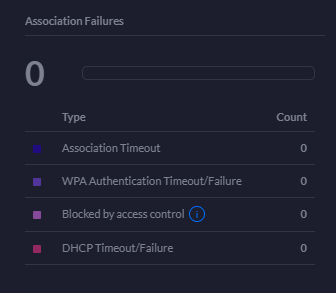
Association Failures Statistics
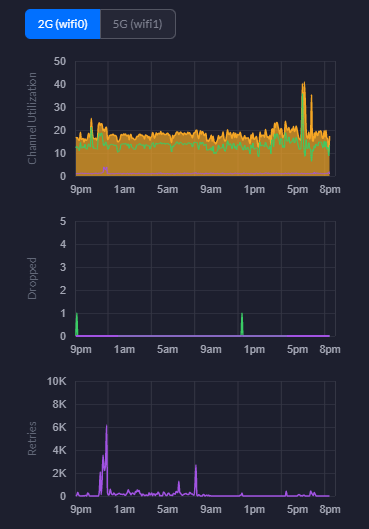
2G WiFi Charts – Channel Utilisation, Dropped Packets, Retries
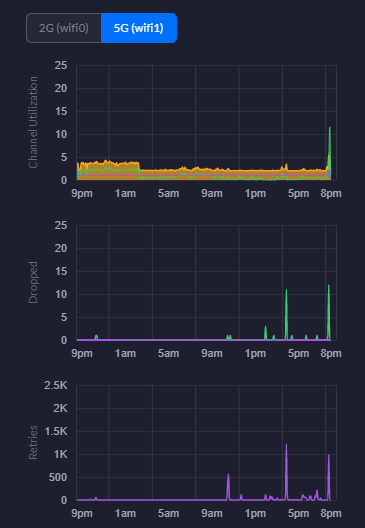
5G WiFi Charts – Channel Utilisation, Dropped Packets, Retries
Hopefully that gives you a good idea about what’s in the box and what’s out of the box once you’ve got everything set up and configured within your network.